Showing posts with label architectural detail. Show all posts

Friday, April 22, 2011

Re-Purposed Japanese Screens

I have had this Japanese screen from my Grandmother for many, many years.  I am lucky to have many family heirlooms.  I also have some of her water colors hanging in my family room.  My Grandmother acquired this screen while living in Japan in the early 1950's.  My brother also has one just like it.  They started out brown.  I painted it black.  I've used them in different rooms in my house, but they never quite worked?  My house has ten foot ceilings and the screens always looked out of scale with the tall ceiling height.  Another problem, (maybe it's just me) I like the top detail of the screen, but not the bottom basket weave portion.  It just seemed too busy together?
   

Here's what they look like now.


Grandma isn't around anymore to ask if she minds me redoing them.  This is how I re-purposed them.  I removed all the hinges and used my dad's table saw to cut the bottom basket weave and the top wood extension of the screen off.
I hope Grandma doesn't mind?  She was a very stylish woman so I'm hoping she would approve. 
At this point of the project I was liking the screens better already!

I primed them and painted them white.  I used wood glue to repair some of the loose wood detail. 
Here they are primed.


I planned on using the screens in my powder room.  I painted the powder room  like a castle ten years ago.  OK, before you start laughing remember it was ten years ago.  I wanted to re-paint it sooner, but my kids didn't want me to.  My tastes have changed so the castle went bye, bye last year.


It was my "Old World Tuscan"  period.


Last year I painted the bathroom black. No, I haven't transitioned into a "Goth" period.  I just have always loved black and white.  Sorry about the bad pictures.  This room is small and VERY difficult to photograph.  Black rooms are hard to photograph.  Did I mention photography isn't one of my strengths to begin with? 


 I added the Upholstery tacks to the ceiling detail and around the Ikea mirror.  The light fixture is from Habitat for Humanity.  I painted it silver and swagged it from the ceiling.  The room needed something else? 
 I just wasn't sure what?  I was looking for artwork and was considering painting something myself or stenciling a pattern on the walls?

How about Grandma's screens? 
 Re-painted and Re-purposed.


I hung four of them horizontally on the empty black wall next to the sink.


One behind the concrete shelf (another Habitat for Humanity find) above the toilet.


 Thanks Grandma!


I'm liking the added architectural detail and the contrast of more white.


Although the room is painted black it looks much bigger then when it was painted like a castle.  The black makes the walls recede.  To see other back rooms in my house click here.
 

 This mirror was free and I painted it white many years ago.  It was in my daughter's room in our old house.  I tried to give it away last year because it was sitting unused in my garage.  I found a home for it on the opposite wall from the screens.  It makes the room look larger (just not in pictures).


I would love to hear your thoughts. 
Do you think Grandma might be upset with me redoing her screens? 
Have you been faced with the same dilemma with one of your family heirlooms?

Thanks for checking it out!

Thursday, February 17, 2011

Family Room Makeover

Our family room/great room hasn't been painted in ten years. I'm tired of the yellow and the stencils. The ceiling is painted the same color as the walls so painting this room was a little inconvenient. The fireplace tile is gone but I haven't finished the mantel or the new tile yet. To see the fireplace demo. click here. I slip covered my couch. To see that part of the re-do click here and here. I reupholstered my ottomans here. I also ripped out the carpet and painted the concrete floors. I'll show you the floors and how to paint those in a later post.


Here are some before pictures during the room prep for paint.

The stencils are going bye bye.


See the paint samples to the right of the fireplace? I always paint several large swatches around different parts of the room before I go out and buy paint. I live with the color for at least a few days (in this case a few months) to see how the swatches look in the morning, afternoon, evening, cloudy day, and sunny day. It's well worth the cost of several quarts of paint.


I recently painted the TV armour too. To see that click here.


These windows are south facing and we get bombarded with major sun year round from sunup to sunset. I faded the arm of my slip covered couch while working on this project while the blinds were off the windows. This has created a big design challenge. How to get rid of the blinds while protecting my furniture and the view? If I lose the blinds and just use curtains, I would need to leave them closed all day long. We would lose the view of the backyard. I would love bamboo shades and they are on sale at Lowe's right know as I type, but I would need to mount them outside the windows which I don't really like, or special order the shades which is very expensive. These windows are 70.5" wide and standard shades are 71" or 72" wide. I would also need to keep them down all day to protect the furniture. So for know I have to live with the blinds. The blinds are great for light and heat control. I can tilt them so we still see the outside, but the light doesn't shine on the furniture. I haven't checked into getting UV protection put on the windows, maybe that's an option?


Any ideas out there? I would love to hear them!


I picked out the new color six months ago. I just didn't have time to paint this room. In the back of my mind I knew it was going to blow up to be much bigger project than just painting the walls.


Bye Bye yellow.


Before I painted I re-textured the walls with joint compound and primed the re-textured areas with Zinnser primer. Click here to see how to do that part of the project.


I painted the room with my favorite paint Benjamin Moore. The color is 75% of OC 10 White Sand in a flat sheen. The eggshell finish looked weird on the ceiling so I just painted the whole thing in flat. The old paint was flat and it held up very well even in the kitchen. I don't tape off the room when I paint. I just use an angled brush to do all the cut in work. The color looks like a very cool gray in the morning and afternoon and more beigey and warmer in the evening. I like it because it's very calming and fresh.


I raised the curtain rods up about six inches to the bottom of the molding and moved the brackets out wider past the windows to make the windows look even bigger. I got rid of the finials in between the windows and extended the rod all the way across the narrow wall separating the two windows. Now the windows looks like one giant window. They are difficult to photograph because they are always back lit by the sun.
The blinds are back up again. I wasn't sure the drapes were going to work with the new paint color, but I love them even more now. I made them out of paint tarps several years ago. They have great weight, a nice texture, and drape nicely. You can't get much cheaper fabric than paint tarps.


I also painted the brown curtain rods with a gray wash. I bought the finials years ago on sale for $5 a pair at a fabric store. They are made by the Antique Drapery Rod Company and usually are around $35-$45 a piece. Most of the curtain rods in this room are made out of closet dowel painted to match the finials. Closet dowel can be found in the molding section of any hardware store. It's so cheap compared to an actual wood drapery rod. Just paint it and drill holes in the ends for the finials.


My dad helped us do the molding when we moved in. It's actually two separate pieces of molding. We painted the wall board in between the two pieces to make the molding look bigger. We have ten foot ceilings and skinny molding looked out of scale in the room. Wider molding is more difficult to miter the corners and more pricey. This was an economical solution. Painting the ceiling accentuates the molding.


Here is the new paint in the kitchen with my black cabinets. I painted the kitchen cabinets a few years ago and they have held up AWESOME! Someday I'll get around to doing a blog on how to paint kitchen cabinets. I used an oil based paint designed for metal not wood. It wears like iron.
NO SANDING, NO PRIMER, KID AND HUSBAND PROOF!!! It's amazing!


Here is a sneak peak of the new concrete floor. The base coat is the same color as the walls. I love the color, but I'm not sure if I like the maintenance? It shows every speck of grass our dog brings in the house and I can't have anything in my house that high maintenance. I don't have time to sweep everyday and right know that's what this floor requires for up keep. I might have to adjust the color a little darker? Still thinking about what to do.


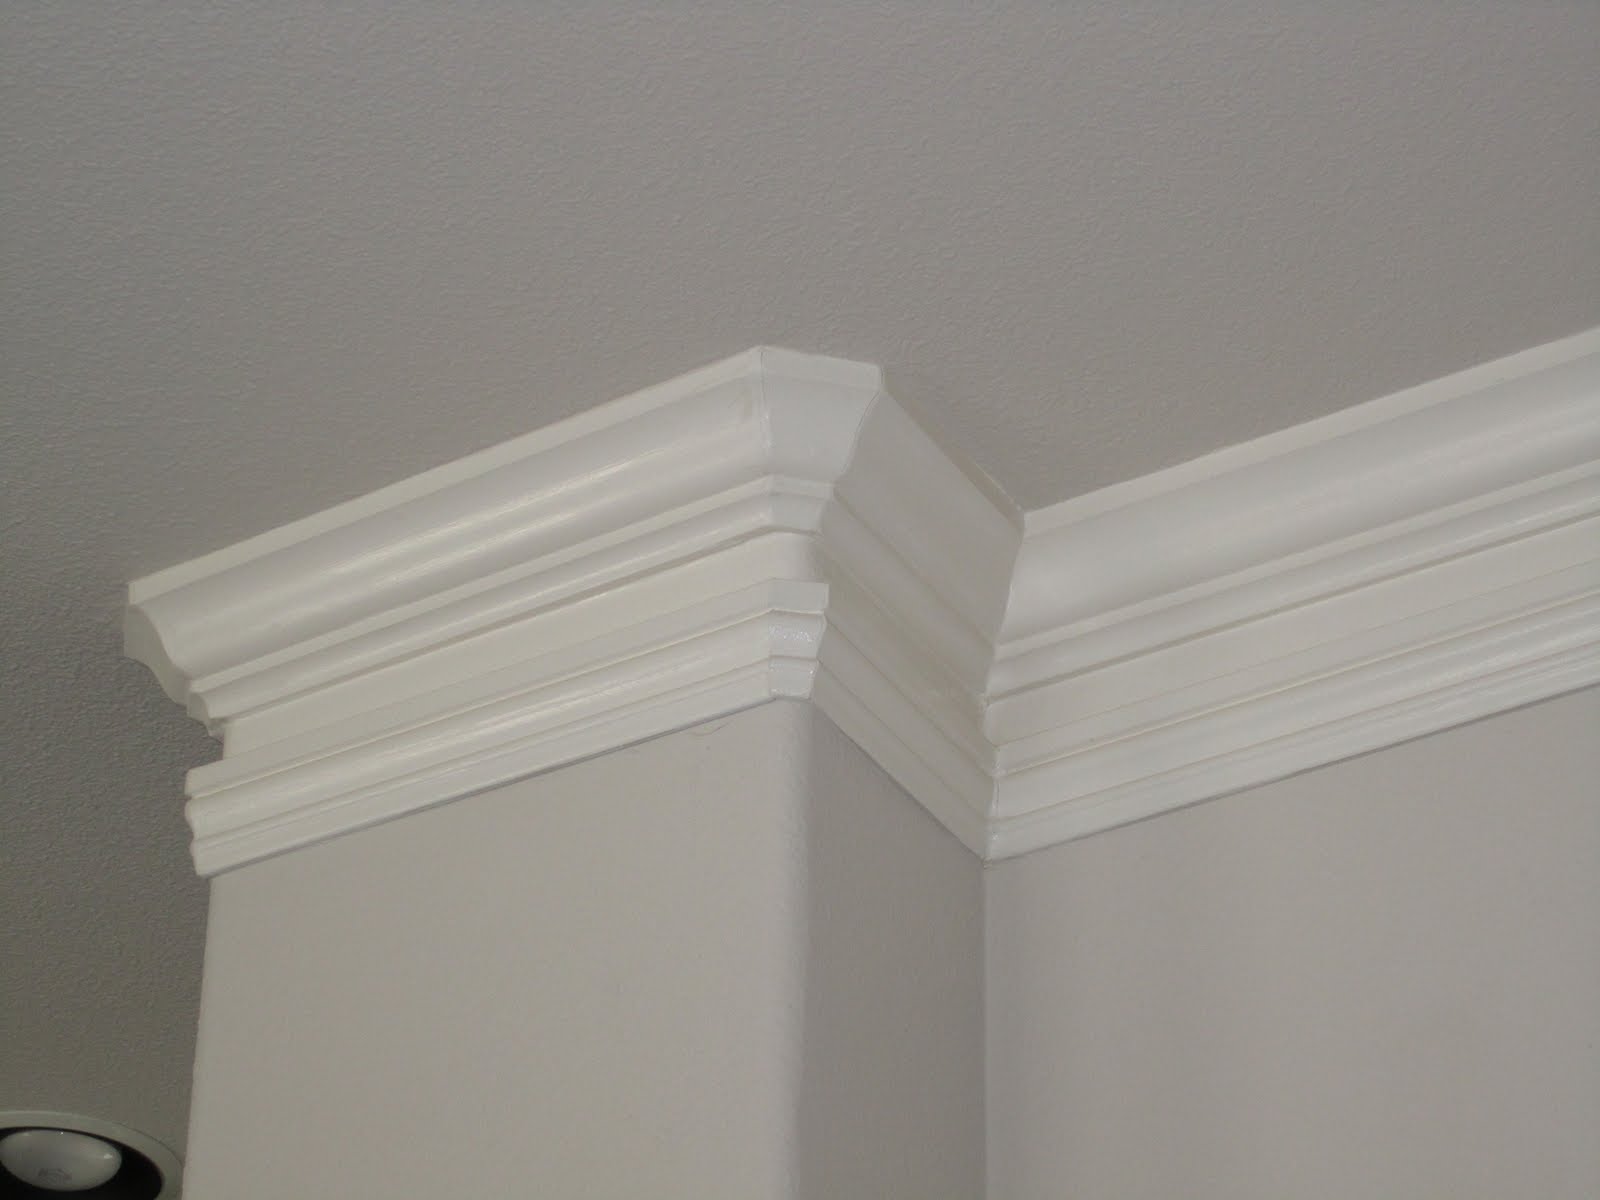
The ceiling is the same color as the walls, but see how it looks more gray than the wall color? I almost always paint ceilings. The ceiling is the fifth wall. In smaller rooms I paint the ceiling a couple shades lighter than the walls or I paint them a pale blue. Remember that paint will almost always look darker on a ceiling than on the walls. I know it's a personal preference, but sometimes when I walk into a large room with a white ceiling, I feel like it's being covered with a big white sheet. Painting the ceiling really shows off the molding too.

I also took the shades off the chandelier and lightened up the paint color. It's not done yet so I'll show you later how it turns out. The large wood scroll over the mirror is new to this room too. To see how I painted it click here.


I just noticed while watching the Nate Berkus show that the color of the walls on his set looks almost the same as my wall color. It looks more blue in this picture than it is on TV. If you watch the show check out his walls.


I'm so happy with the color. Walking into this room now makes me relax, just what I was trying to achieve. Who knows, I might be sick of it in six months and want to paint it all over again, but for now I'm loving it.


I still have a lot of work to do. The fireplace needs to be finished. I need an area rug, some lamps, I want to refinish my buffet, complete the chandelier, the list is bigger than the bank account. The major messy work is done for now. I'm addicted to change so I never know what I'm going to do next.

Thanks for checking it out!


Monday, February 7, 2011

How To "Age" A New Architectural Piece

This project shows how to turn a re-purposed piece of furniture detail into an aged piece that looks much older then it really is. This large scroll of wood was attached to the top of my master bedroom armoire. It was screwed on with three hinges so it could be easily laid down for moving purposes. My master bedroom isn't that large and I always thought the scroll detail was a little too imposing for the room. I decided to take it off the armoire and use it over a mirror in my great room.

Here is the armoire with the scroll still attached.


After I removed the scroll I gave it a good cleaning (it was very dusty up there). I have to fire the cleaning lady. I'm the cleaning lady, yeah I'm fired again!

You will need the following supplies.


*A paint tarp

*I used the following colors, but you can use any color that works with your decor. 3 cans of Rust-o-leaum spray paint in Fossil, Granite, and Heirloom White.

*A white candle or a bar of soap (I used a candle).

*Sand paper and/or steel wool (I used both).

*An old tooth brush or paint brush to clean sand paper dust and steel wool dust out of the detail in between painting coats.

*A small paint brush to add gold detail (optional).

*Gold craft paint (optional).

*Antiquing glaze (can be bought at a craft store or mixed yourself).

Step 1
I started by spraying the piece with one coat of the Fossil spray paint.


It was a warm breezy day when I did this project so the drying time was minimal. The whole project took about an hour and a half because the the piece dried so quickly between coats. Make sure your piece is completely dry before the next step. Don't worry if you can see the wood through the first coat. More coats will follow.

Here's what it looked like after the first coat.


Step 2

Take a candle or a bar of soap and rub all of the raised detail. This will cut your sanding time in half and will allow the first coat of the fossil color to show through the next layers you are going to apply.

Step 3

Spray the whole piece with a coat of the Granite color and let dry thoroughly.


Step 4
Sand the whole piece especially along the edges of the detail with steel wool or sand paper. Do as little or as much as you want. I sanded some parts down to the original dark wood. The candle wax makes this step quick and easy. Clean all of the sanding dust off the piece. If it has a lot of detail take an old tooth brush or paint brush and use it to clean any dust left behind out of the nooks and crannies.


Step 5

Apply another layer of candle wax and spray with the third and last coat of Heirloom White.


Step 6

Sand again and clean up dust. I sanded down to show some of the original dark wood, some of the Fossil layer, and some of the Granite layer. At this point I hung it on my wall. I added two picture hangers to the back. I used this great tool to ensure it was level. I've had it a long time and I can't remember where I got it? It's a yard stick with a level attached and sliding brackets (see the black little rectangles with the holes in them) to mark exact holes. It's very handy. Just line up the holes on the piece you are going to hang and mark where you need to drill the wall. It eliminates the need to make multiple holes to get an object level.


Step 7 (optional)
After hanging it up I thought it needed a little bling to tie it into the gold mirror it was hanging above. You can skip this step if you don't need bling.

I used a small brush and painted it on the detail, then wiped some of it off.


I also added a little antiquing glaze to age it more. I try to use what I have on hand when possible. I found this in my paint supplies. It's really old, but still good. I think I got it at Michael's? It's kind of a taupe brown color.


Here it is finished.


Here it is on my freshly painted walls above a mirror that belonged to my husband's Grandmother.


The mirror used to hang horizontally, but after taking it down to paint the room, I re-hung it length wise. I think it helps emphasise the ten foot ceilings in this room.

This is really an easy process and I would love to see your painting projects.
Thanks for check in.


Related Posts Plugin for WordPress, Blogger...