Showing posts with label Office. Show all posts

Monday, April 2, 2012

New Space For My Man

My husband never asks for anything for himself.  He does everything for his girls, me and our two daughters.  We also have a girl dog and a girl bunny.  He is surrounded by estrogen and has no place to call his own in our home.  Day after day he diligently goes off to work to support and provide for his girls.  He never buys anything frivolous.  The only money he ever spends on himself are the times when he needs new running shoes.  He is selfless and happily does everything for his family.  He never complains.  When we do have some extra money he tells me to get something nice for the girls and me.  We have a cozy, "smallish," three bedroom home and there is no corner carved out just for him. 
Even the garage is filled with all my "crapola."

I wanted to change that, so I'm making him a
"Man Cave." 

Not this kind of cave.
Photo: Man in front of cavernous tunnel

Hopefully it will be more like this kind of Man Cave.


source
He really doesn't want to watch Vampire Diaries, Survivor, Switched At Birth, Nate Berkus, Selling New York, and all the other shows his girls watch.  He needs his own TV to watch sports, documentaries, and the History Channel.  He has never asked for a no girls allowed space, but he listened intently when I told him my plan.  It took him a few days, but now he is totally on board.
 It's fun seeing him get excited about having a space of his own.
The dilemma, where do you find space for a more testosterone friendly room when you only have three bedrooms and they are all occupied?
You get creative and you make due with what you have.
No time to lament about what we don't have.
Here is the room I'm converting into a place my husband can call his own.
It's a challenge because this is our living room/office and it incorporates the front door and the hall to the girl's bedrooms.  There aren't any walls to separate it from the rest of the house.  It's also an awkward shape.  It's the first room guests see when they walk in the house. I need to come up with a plan that will make my husband feel welcome, but still not look we live in a themed sports bar.


I painted this space blue/green after seeing the cover of the 2007 Jan./Feb. issue of Veranda. 
I did layers of joint compound and paint glaze to achieve the effect. 
Time for change, it's been like this since the cover came out.


It's had a few different looks in the past, but the wall color hasn't changed.


We use it for Thanksgiving dinners because we don't have a formal dining room.  
Thanksgiving 2010


I ripped out the carpet a few years back and painted the concrete floors
I've done several floors like this in my house.   
Those are staying, but I'm re-painting the border. 
The scroll detail is too feminine for a Man Cave.


I put up our Thanksgiving Tree right after Halloween in here.
Thanksgiving Tree 2011


Here's the room getting ready for a new coat of paint.


Here is the direction I'm going.
A new sleek flat screen TV and industrial furniture.


Dutch Industrial Media

I think I'll have to design some more industrial shelves for this room like I did in our great room.


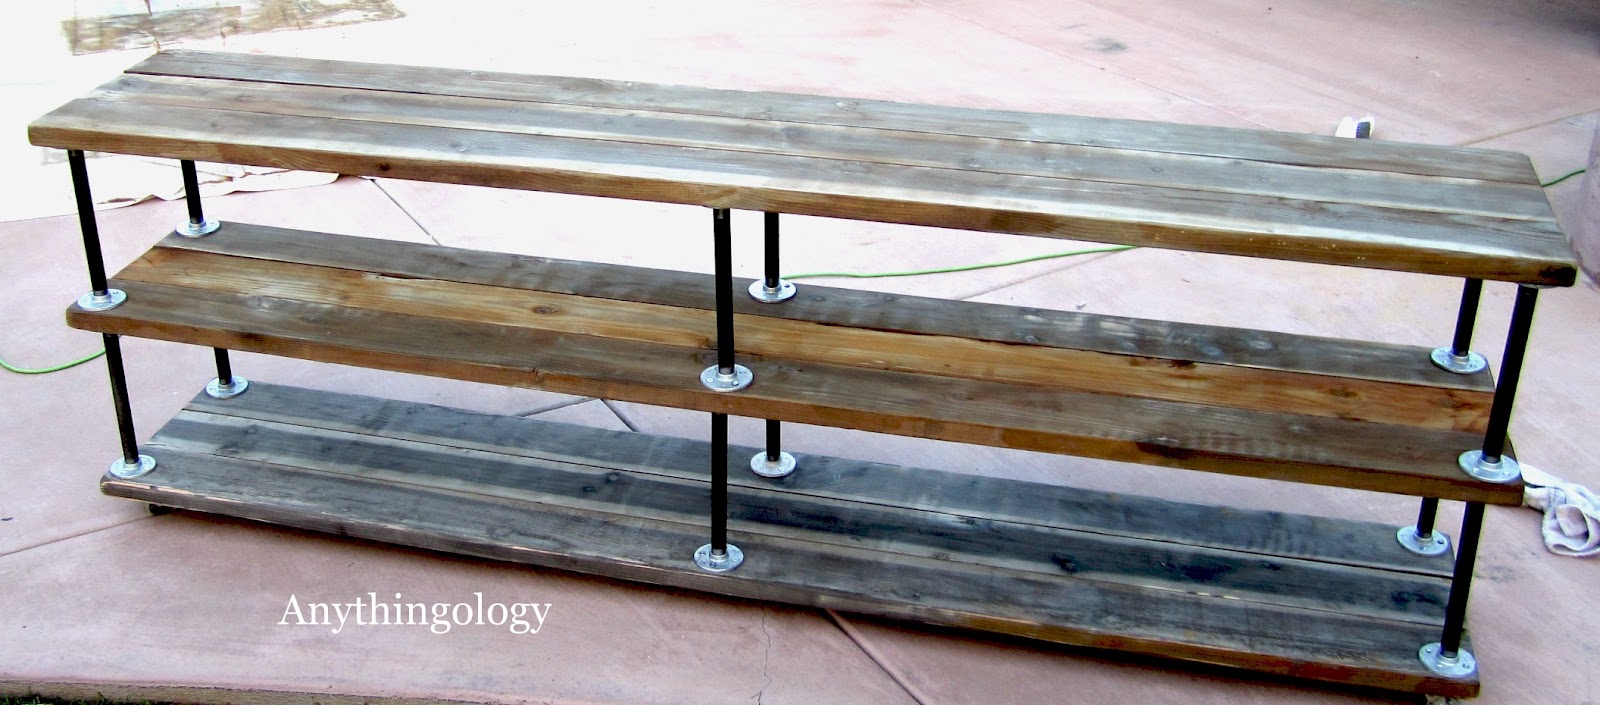
Gray walls with warm wood.


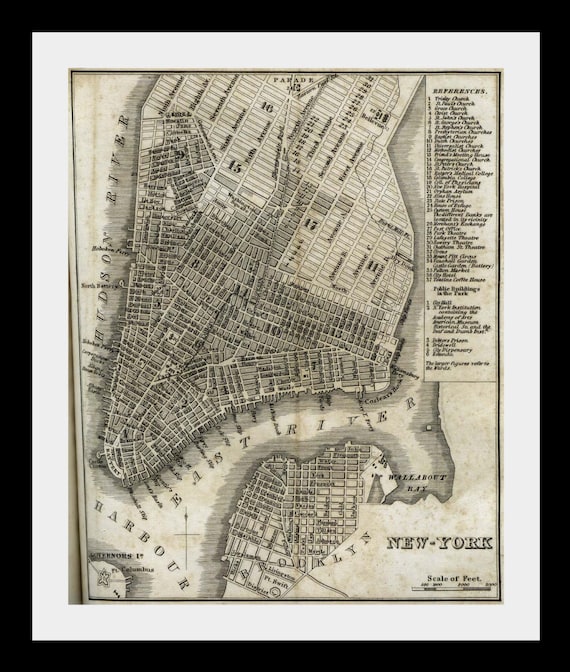
Maybe a map or two of his home state New York.
new york city vintage map NYC 1842 atlas map east coast print - Free Shipping

Darker gray ceiling with beefy crown molding.

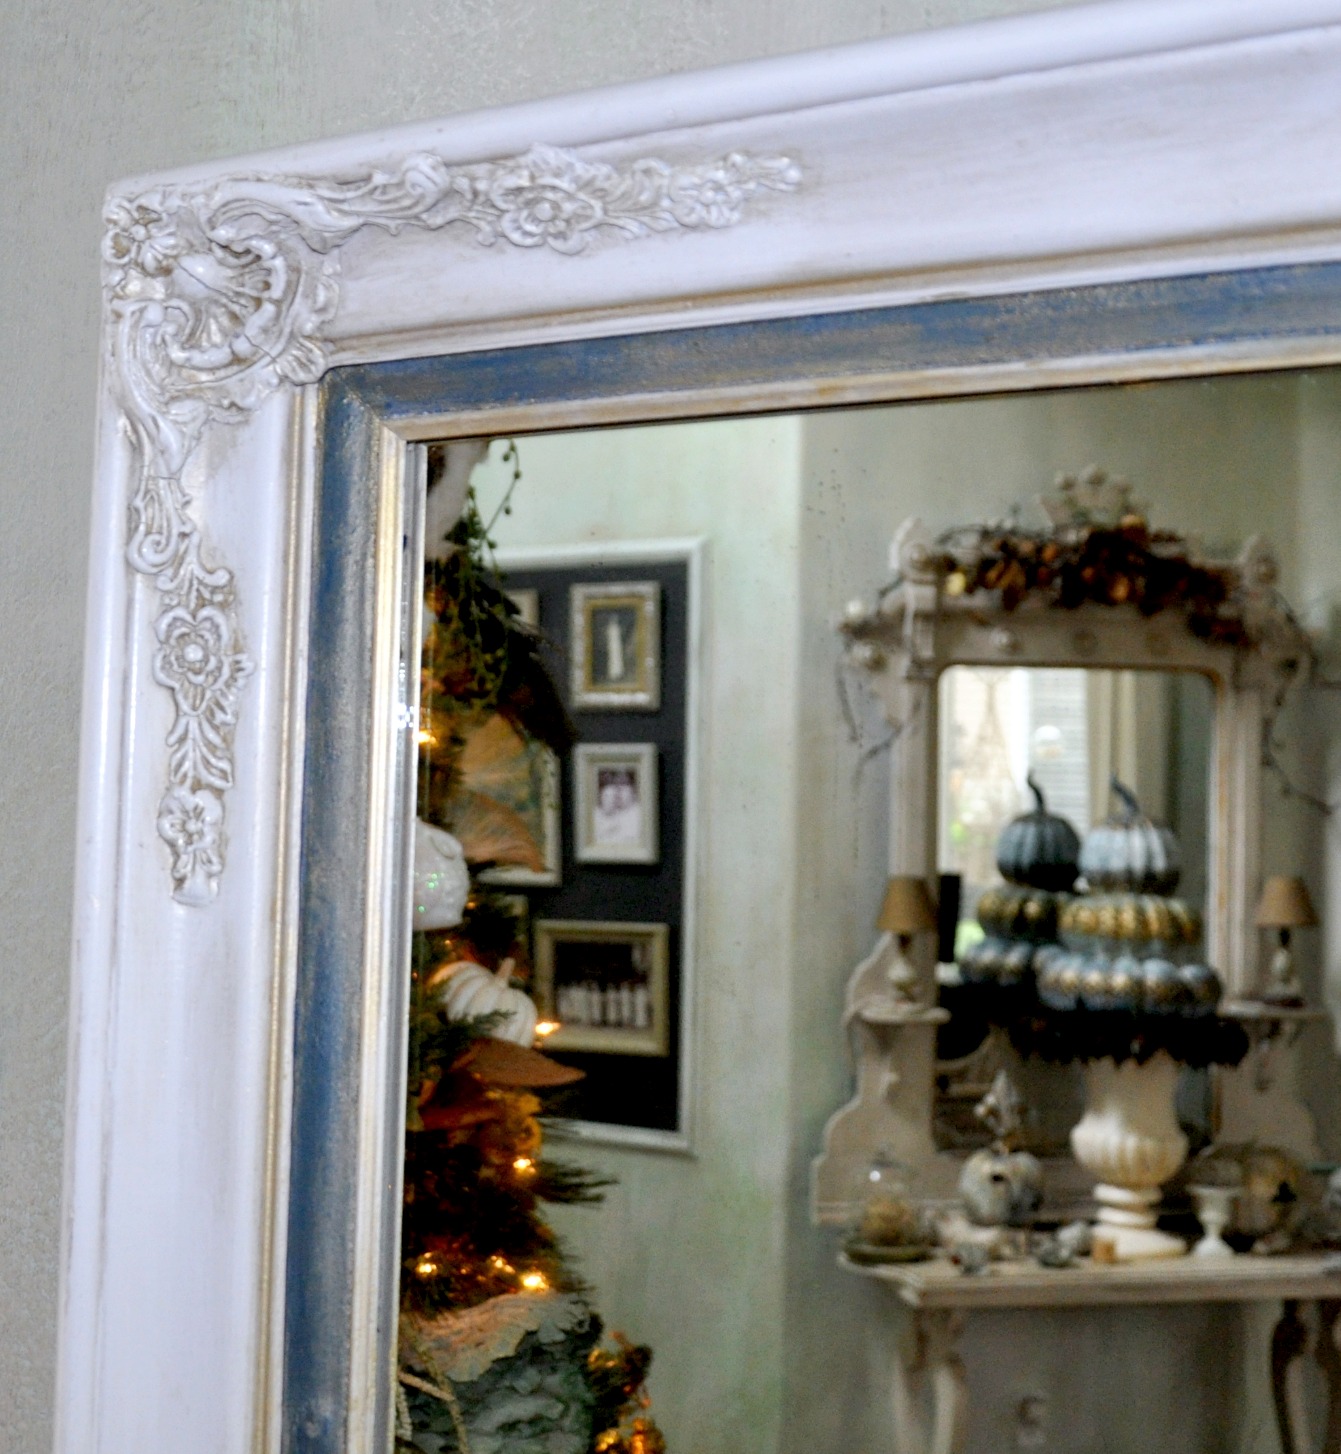
Maybe something like this?.


Cozy stremlined furniture with an industrial masculine feel.

Industrial Countryside Chic

The walls and ceiling have been painted, but I'm not going to finish this room in lightening speed. 
My oldest daughter had surgery this last week and
I was gone all weekend at a volleyball tournament.

I painted the walls Benjamin Moore Stonington Gray HC 170  and the ceiling 
Benjamin Moore Chelsea Gray HC 168.
I'm adding crown molding so you won't see the unpainted seam where the walls and ceiling meet.

I'll show you the progress in the next post.

Do you have any room renovations in the works?
Does your man have his own Man Cave?
Do you have any style tips that I can use to make this masculine room blend with the rest of our home?
I would love to hear your ideas.

Thanks for checking it out.


Tuesday, November 8, 2011

Living Room/Office Gallery Wall

I've been thinking about doing a gallery wall somewhere in my house for awhile now.
 I just didn't have any extra wall space to put one?
I saw this picture on Lauren Liess's blog Pure Style Home.
It's a picture of Karen Robertson's showroom at High Point.
Sorry the quality didn't turn out when I copied the picture. 
If you go to her blog you can see it in better quality. 
It's hard to tell it's framed sea life.
I also love the white slip covered couch and the blue accents.


About a month ago I painted this pair of mirrors that hung in my living room/office.  
It was part of my attack on the Tuscan brown pieces that still occupy my house.   
I call this the "Before, Before."

I liked how the mirrors turned out. 
I'll refer to this as the latest "Before."


For the new gallery wall I started with a scale drawing and figured out how I wanted to arrange the new items I wanted to use.  I'm glad I did this step because it's completely different than I originally imagined and it saved me from patching a lot of unnecessary nail holes.


Here is the first "After."
You can see my Thanksgiving Tree in the left hand side of the picture.
I still haven't made time to slip cover the couch.  It's on the to do list.


The sea shell frame is just glued shells on an old oak mirror. 
I made it years ago before I blogged.  The gold framed mirrors were borrowed from my master bedroom.   

Total cost of this project with spray paint $16. 
I don't think the new look is necessarily better than the old mirrors. 
I just get bored with my surroundings and like to mix it up.
I liked the changes I made, but I always need to live with the newness for a few days before conceding it will stay for the time being.


Mounted sea fan art like this is everywhere, it's far from an original idea, but I had the old frame, the burlap, and the plastic sea fan.  Using stuff I already have saves me money.  The frame was white and I painted it and the sea fan with the extra blue pumpkin paint.


No sea fans were killed for this project, they're plastic.   I use them in my Christmas trees, Thanksgiving trees and in other urn arrangements.
Here they are unpainted in one of my shell urns. 


Here's how I used another sea fan last year for my front door during Christmas time. 
This one was spray painted aqua.


The mirror on the bottom left hand side of the wall was picked up at a garage sale for $7 and started like this.  The previous owner screwed the hanging bracket through the front of the frame?


I filled the holes with wood putty, painted it white, added the blue pumpkin paint to the damaged fabric border, added some gold accents, and glazed the whole thing with a gray wash. 


So I lived with it like this for a day. 
My plan was to replace the bottom right hand side gold mirror with a painted  piece of art.
I might still? 

While taking apart this arrangement from my husband's Birthday Party I got another idea.


Here is the "After, After" and final change for this post.  I picked up this frame at H4H for $5 several months ago and it sat in the "garage filled with too much crapolla" for months.   I mounted the branch on the wall with a nail and some twine.  The Tilandsias are thriving and should do great in this room.


It creates three dimensional living art.


I just need to give the Tillandsias a little spray of water every once in awhile to keep them healthy.


So what do you think? 
Should I go back to the old mirrors, stick with the new gallery, or ditch the stick art and paint a picture for the frame, I would love to hear your opinion.

Framed any sticks lately?

Thanks for checking it out.


Photobucket

Tuesday, July 12, 2011

DIY Faux Antlers


I made some antlers while watching the Woman's World Cup Soccer game.  USA was losing to Brazil, but never gave up and came back to win in penalty kicks.  AMAZING Game, Go USA!  Anyway, sorry if you aren't a soccer fan.

The United States players celebrate their dramatic penalty shoot-out victory over Brazil on Sunday.

I rarely sit and do nothing while I watch TV. Especially since my little Roscoe isn't around to cuddle with me. Right now more than ever I need to keep my brain busy with multi-tasking,
I miss her so much. 
I'm sure you have seen many images of antlers floating around out there lately in blogger land. 
I would never want to hurt a real Bambi so I made faux ones. 

These are from Ballard Designs.
Not sure if they are real or faux?


These look real.
Lonny

I think these are real too.
Here are mine.  First attempt, please be kind I'm still in mourning.
Mine cost me nothing to make because I used stuff I already had.
My favorite projects are frequently free.


I needed a base to mount my antlers on so I used a large clam shell.  I love shells and have sooo many.  A beveled piece of wood cut in the shape of a shield would look great but I was watching the game and didn't feel like driving to my parents house to have my dad help me cut wood.
I used several strands of wire wrapped together to create my antler shape in my workshop (my kitchen island).


I hot glued a piece of scrap leather to the shell.  My thinking was the leather would create a nice surface to glue the wire to the shell. It worked great.


The Ballard's antlers have an acanthus leaf motif on their base that I liked so I created a simple one with more leather scraps and hot glue.  It doesn't matter what color you use it's all getting painted.


I hot glued the wire antlers on to the shell and added an extra piece of leather over the wire leather connection for more stability. 
Right now it's looking very ugly with the red leather.
I could tell my husband was not impressed, more confused then anything else?  He knows my emotions are fragile right now and has learned in the interest of marital harmony to not judge my projects till I'm finished.  When I'm done I welcome his opinion even if it's not positive.  He usually has great insight and can pin point things I need to fix or change.  He's from New York and doesn't hold back on being blunt and to the point.  I love this quality about him.  I just like him to wait till the project is finished before passing judgment.  Come to think of it he still hasn't said anything about the antlers?  Maybe I shouldn't be sharing this project yet?


I wrapped the wire in tape to give it some girth.


Next I made Paper Mache and wrapped the tape in thin strips of newspaper.  The Paper Mache glue is one part flour to 2 parts water.  Glue is made from flour?  Glad I don't eat gluten anymore.  Who needs to be eating glue?


Just cut thin strips of newspaper and dip it into the flour water mixture and wrap it around the tape antlers.  Sorry no pictures of the newspaper process, yucky fingers at this point of the project.


I let it dry outside in the hot sun and watched more soccer, double overtime, plus an added 3 minutes because of injury timeouts.  I guess the Brazilian player shouldn't have faked an injury or Abby Wambach wouldn't have had time to score the the game tying header goal for the USA.
On to penalty kicks.
We Won!!!! 
When I grow up I want to play goalie like Hope Solo.


It was really hot outside so the antlers dried fast on my concrete patio. 
Make sure your paper mache is really dry before you paint.  I hate the waiting part. 
I was making this up as I go and really wasn't sure what I was doing, but I do know it needs to be dry.
The antlers seemed a little too rough so I added a thin coat of caulk to smooth it down and fill in the cracks and blemishes in the shell.  Still not smooth enough.  I would not do this step again.  I needed to use a medium that I could sand like Bondo, or wood filler, or even joint compound. 
Oh well, most of my DIY projects are trial and error.


I ended up using a little wood filler but didn't get a picture of it.  Messy fingers again.
LET IT DRY
(this is more for me then you, I'm not very patient)

The next day I added  a couple coats of white spray paint. 


I hung it in my office for now but I'm going to make more and create a collection on a wall. 
Not sure where yet or how many?

I've never seen home made antlers, but I'm sure with so many creative bloggers out there someone has a better way to make these?  I would like to try to use clay next time.  Using clay would have involved a trip to Michael's and then it wouldn't have been free.
 
Have you created any paper mache or clay projects lately? 
Have you seen a better way to make these?  I would love your feedback.

Thanks for Checking it Out.


Nifty Thrifty Tuesday


Related Posts Plugin for WordPress, Blogger...