Showing posts with label Man Cave. Show all posts

Wednesday, September 26, 2012

Man Cave Reveal


I'm finally finished with Henry's room. 
 It's been six months since I started the man cave makeover.  
Most of the room has been done for quite awhile, I was just waiting on the couch.  
I ordered a love seat/chaise combo couch about a month ago.  
I picked up the couch a week ago, but only half of it made it home with me.

I'll tell you more details of the couch saga when we get to the reveal pictures.


The room used to look like this.


I did many DIY projects along the way of completing this room.
Just click on the hi-lighted words to see the post for more details on how I did each one.
I painted the walls
Benjamin Moore Stonington Gray HC 170 and
the ceiling Benjamin Moore Chelsea Gray HC 168.


My brother helped did the crown molding.  
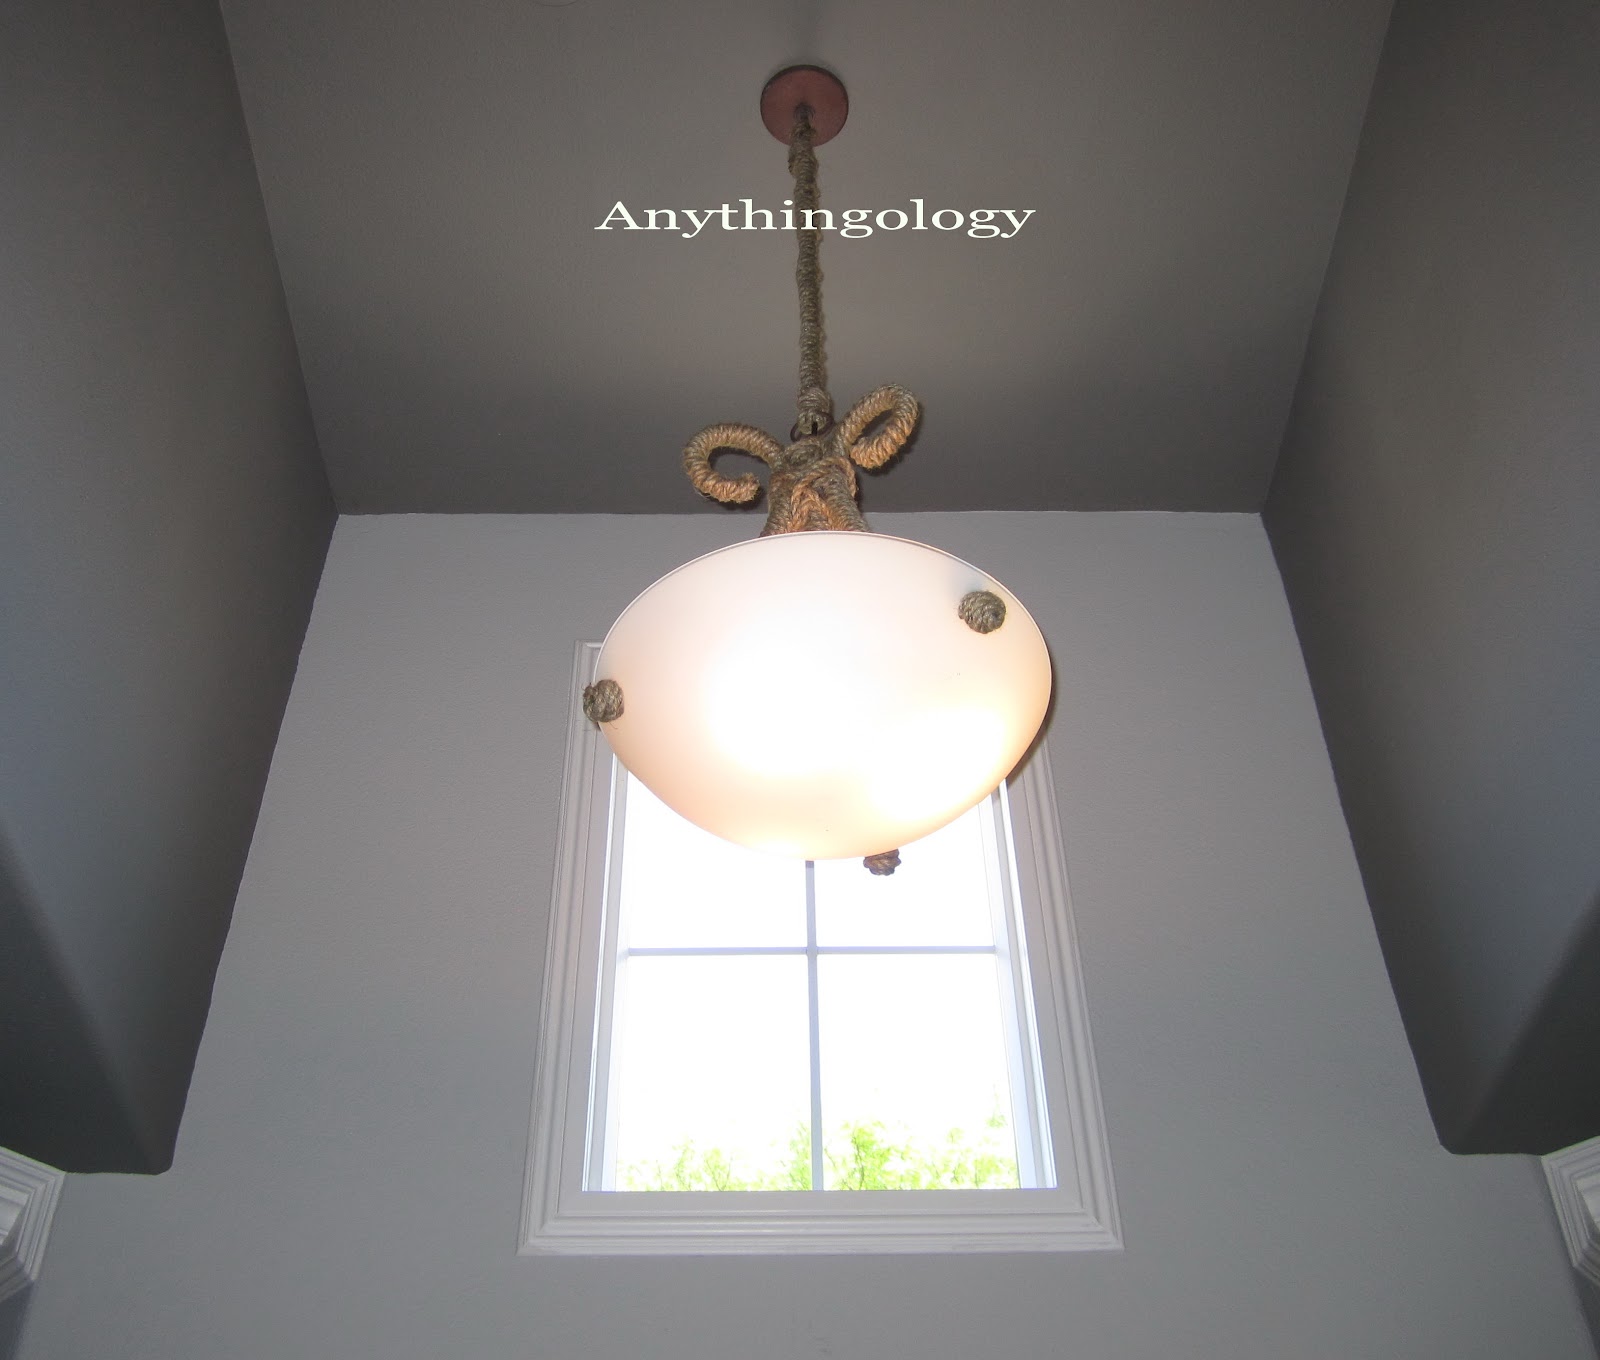


I added jute rope to the existing entry light.  


I made this leather studded stump for a side table.


I added industrial wheels to this thrift store steamer trunk
I originally planned on using it as a media console, but I think the scale works better switching to the dresser.


I painted my entryway mirror a more masculine black.


Here is the finished room reveal.
I did it on a tight budget spread over several months.


The green velvet drapes and the cowhide rug are from Ikea.


The silver floor lamp is a family hand me down that I painted silver and distressed.


The media dresser has been in my family for years.
The white chair is a thrift store find that I had reupholstered years ago.


I changed out the white blinds for woven ones from Lowe's.


So, let's get back to the story of the couch.
 I searched and searched for the perfect couch for many months.
My husband and I are tall and needed a deep couch to accommodate our height.  We tend to keep our couches along time so I didn't want to skimp on quality, but it still needed to be budget friendly.


 The room is small and it's the first room you see when you walk in the front door.  Going too big would have over whelmed the space.  I found the perfect solution at a store in Solana Beach called WE-R-Fabrics.  They make custom high end furniture for very competitive prices.
I will definitely buy furniture from them again.
Now, here is where my nice little couch story gets scary.   
I picked up the couch on a Friday afternoon, but only the chaise part of the couch made the trip safe and sound to my house. 
 I watched helplessly through the rear view mirror as the love seat did a back flip out of the back of my truck on to the freeway!
I know, CRAZY!

I am very lucky to not be facing a lawsuit or dealing with the guilt of causing someones untimely death due to a couch collision on the freeway.
The lesson I learned that day is NEVER trust someone when they tell you the furniture is "secure" in the truck.
CHECK IT YOURSELF
The couch miraculously landed right side up and only received a minor tear that has been seamlessly fixed.  
More importantly, no car accidents occurred as a result of my flying couch.
I should have bought a lottery ticket that day.
 It could have been really bad, I was very lucky that no one got hurt.   
  

A week later the chaise and love seat are happy to be reunited again.
It's perfect for my tall husband and the chaise is lined up with the TV for comfortable, ideal TV viewing.


Originally I was going to make two industrial shelves like the one I made for my great room, to flank the TV, but I decide to do a gallery wall instead.


The picture on the left is of New York City where my husband is from.  It was on clearance for $30 at Homegoods.  The other map above the TV and the blue print picture to the right were also great buys from Homegoods.
I already had the two brown mirrors.


Most of the accessories I found shopping the house.
I picked up a few extra old books at thrift stores.  The globe was on clearance at Homegoods and well as the large black metal urns with the pointy finials.  


My husband is really happy with his new room.  
Now if we can just keep the girls out if it.

Thanks for checking it out.


Thrifty Decor Chick

Friday, June 1, 2012

Windsor Chair Update

More Man Cave projects.


I've had this hand me down chair for many years. 
It's very comfortable and sturdy.

Seat before


A little too shiny for my taste.


The finish has seen better days.
The seat and arms were scratched.
I like distressed pieces, but this didn't look good.


A little sanding, some tape, a little spray paint and here is my new Windsor chair.
It kind of reminds me of a rugby uniform or racing stripes on a vintage car.
My family is not a fan of this project.
 Most of the time they like my DIY projects, but this one fell flat. 
Oh well, you can't please everyone all of the time. 


I want this for an office chair.
Ripple Black Leather Office Chair from Crate and Barrel $299
I just don't feel like spending that much on a chair at the moment.


Then I saw this Etsy chair on Lakeitha's blog, Home To Three Duncan Boy's.
No. 33

She did this one.
I love it.
Willie Mae3

 
Sorry I don't have any pictures of the process.  My camera memory card is full and I deleted the pictures thinking I had already downloaded them to my computer.  Here's what I did.  I sanded the deep scratches smooth and spray painted the whole chair black satin.  Next I taped off half the chair and spray painted it hunter green.  I taped off the stripe and spray painted the blue stripe.  I sanded the whole chair again to give it a distressed look. 
I used left over paint I already had so this makeover was free.
Glad it was free because I'm not sure how long it's sticking around?


For now it's going in the Man Cave with my leather studded desk.


Do you ever do projects that your family doesn't like, or am I the only one?

Thanks for checking it out.

Saturday, May 26, 2012

New/Old Entryway Mirror and Table

Here is my new/old entryway mirror and table. 
This little project took me about two hours to do, 
not including clean up and accessorizing.


 Both the mirror and the table were hand me downs from different friends. They originally didn't match and were stained dark brown.  I painted them a distressed white and used Rub' n Buff to add gold to the carved detail.  They were two of my early pieces that I painted in our old house when Casey was just a toddler.   I remember she wanted to "help" mommy paint and she ended up with a streak of white paint in her hair for several weeks.  She was a good little helper.  Now she is 14. 
I liked both pieces white, but with the new gray paint job in the Man Cave, the paint took on a yellow tone. 

Here it is last Halloween 2011. 


While I LOVE to paint (it's therapeutic for me), I HATE to sand and do it as little as possible.  This project required sanding because I had used a crackle finish on top of the original white paint job.
I only sanded the top of the table because I'm lazy.
Next I sprayed it with two coats of black primer.


One more coat of black Rustoleum Satin Black.

Next  I added my old friend Rub 'n Buff to the carved detail.
We go way back.

To finish it off, More sanding with a power sander.
I ended up with a chippy, distressed, kid proof entryway table and mirror.

The old white paint shows through and I like it.


I shopped the house and added some cream and brown accessories. 
I used the same little lamps and stuff I already had.
I picked up the lamps at Marshall's years ago.  Notice they are slightly different?


My husband's name is Henry, can you read the title on the little black book?


King Henry VIII


You can see some maps in the reflection of the mirror I'm playing around with.  One is of Coronado Island and it's dated 1956.  The other one is of Martha's Vineyard and it's dated 1941.  I picked them up for $2 each at an Estate sale and I'm not sure what I'm going to do with them yet?


This was a very quick makeover. 
Sand, wipe down, quick spray paint, add the gold, sand again, wipe down, done.


My husband says I'm great at projects, not so much at the clean up part. 
That didn't happen till two days later.
Oh well. 


What would I do without spray paint?

Hope you have a safe and happy Memorial Day Weekend!

Thanks for checking it out.

Wednesday, May 23, 2012

$4 Jute Light


The Man Cave makeover continues and here is the latest $4 transformation. 
This is the track home, builder grade light in our entry that came with the house. 
I gave it a little makeover last week.


I have never liked this light fixture, but it's 15 feet in the air and I could never decide what to change it out for?  I found nice lights, but if you have been a follower of my blog for awhile, you know I'm a tad frugal when it comes to buying lighting.
It's so much more fun to make my own for pennies less.

This is how the room looked before paint and the light makeover. 


Here is the after.
Painted, new completed crown molding and window casings, and the same light with a jute rope makeover.


I had left over rope from my DIY Restoration Hardware Planetarium Knock Off Chandelier. 
Say that five times fast.
To see how I made this fixture for under $50 with hula hoops, an old brass light fixture, and jute rope go

The electrician was able to come back and add the j box to the ceiling.  What a production, he had a tough time getting the wires through the attic and I got to help fish them through the hole while he crawled in the attic up above. 
I finished off the light with a ceiling medallion.
The room is so much more inviting at night with the new light and it's on a dimmer.


Here is the inspiration for my new entry light. 
Coastal Chic Rope Chandelier from Shades Of Light.
$999
"999 are you out of your mind?"


I took $4 roll of 50' x 3/4" jute rope that I picked up from Big Lots and hot glued and wrapped it over all the metal parts of the fixture.  It's not rocket science.  Just wrap and glue.  It took almost the whole 50' roll of rope.  I taped up my fingers with athletic tape BEFORE I used the glue gun this time.  I'm happy to report no blisters and no cuss words were yelled that would make a sailor blush this time.  I didn't bother to take down the light to wrap it in rope.  I carefully balanced on an extension ladder and wrapped and glued.  I would recommend taking the light down, I'm just lazy. 
It's much safer to do this on the ground.

Here is what it looks like closeup now.  
If I find something better to hang here, I'm only out $4.
Can't beat that.  OK, I guess free beats it.


It'll do for now. 
It only took me eleven years to do something about my most unliked light in the house.
The jute rope is a little fuzzy close up, but from the ground you can't tell it needs a shave.
The ceiling in this entry alcove is 15' high.


Here is a picture of the two lights together. 
They are totally different, but now they go together. 
 I like that they aren't too matchy, matchy.


I love solving design problems with inspiration, creativity, a little DIY,  and not big bucks. 
$4 fits my budget. 


I still have one more roll of jute rope left. 
Who will be my next makeover victim?

Thanks for checking it out.


Related Posts Plugin for WordPress, Blogger...