Thursday, April 26, 2012

Restoration Hardware Rope Planitarium Chandelier Knock Off

Happy Thursday!
First off I want to thank everyone that left such supportive comments about my last post.  The Downside of Coaching.  I made all the team cuts and talked with every girl and many parents too.  So far the athletic director has received no complaints, so that's good news.  It was a hard day, but it had to be done. 

Some people over eat when they are stressed, I do projects.
I wanted to show you my latest project for my husband Henry's room.  Here is the light fixture I pinned awhile back.  It's from Restoration Hardware and it's on sale for $675.  What a deal!
Not in my budget, so I made my own version for $50.

Sale $675

Rope Planetarium Chandelier Medium

Here is mine that I made for
under $50 and some burned fingers.


This is what I used to make it.
An old $20 light fixture from H for H.  3 hula hoops from Big Lots( total $9.)  The hula hoops at Big Lots came in three sizes.  I chose the medium sized ones.  They are about about 27"-28" in diameter?  I used a total of 4 rolls of 50' x 3/8" rope from Big Lots (total $16).  I didn't know how much rope I needed, so I bought 6 rolls.  I can take back the two extras or save them for another project.  A can of black spray paint that I already had.  Duct tape that I already had. 


First I took the light fixture apart, I only need the guts for this project.  I'll save the glass for another project.  I drilled a hole in one of the hula hoops and threaded the top of the chandelier through the hole and screwed the loop on to secure the end.


Next I duct taped the other two hula hoops to the drilled hoop.  I had to play around with this step to get the proportions right.  It helps if you can hang the chandelier up and step back to check it out from all sides.


Next I spray painted the whole thing black.  I kind of liked it like this and probably will make anther light using the hula hoops without the rope.  I would have to do a neater tape job or hot glue the hoops for a cleaner look.


Next I started wrapping the hoops with the jute rope.
Once I hung it up in the room, I realized I needed to adjusting the hoops to make it look more symmetrical.   The tape pulled the paint off, but it doesn't matter, the rope will cover it up.


I burned my fingers so I had to tape them up with athletic tape for the rest of the project. 
 I have some nice blisters today.


The rope part of the project is very time consuming. 
Wrap and glue, wrap and glue. 
I cut the rope into manageable 6' sections and watched Nate Berkus to pass the time.


I cut the rope into smaller pieces and glued it into any holes I missed.


Do you think I should cover the candle stems? 
I didn't because they are skinny and close together and my fingers needed a break.
Yes, I have a lazy streak.
I predict more burned fingers if I cover the stems.

I can't show you any pictures of my chandelier lit up yet until the electrician comes back to add a J box to the center of the room.  He has been ill and I'm not sure when he will be able to come over? 
Adding the J box is beyond my electrical capabilities. 


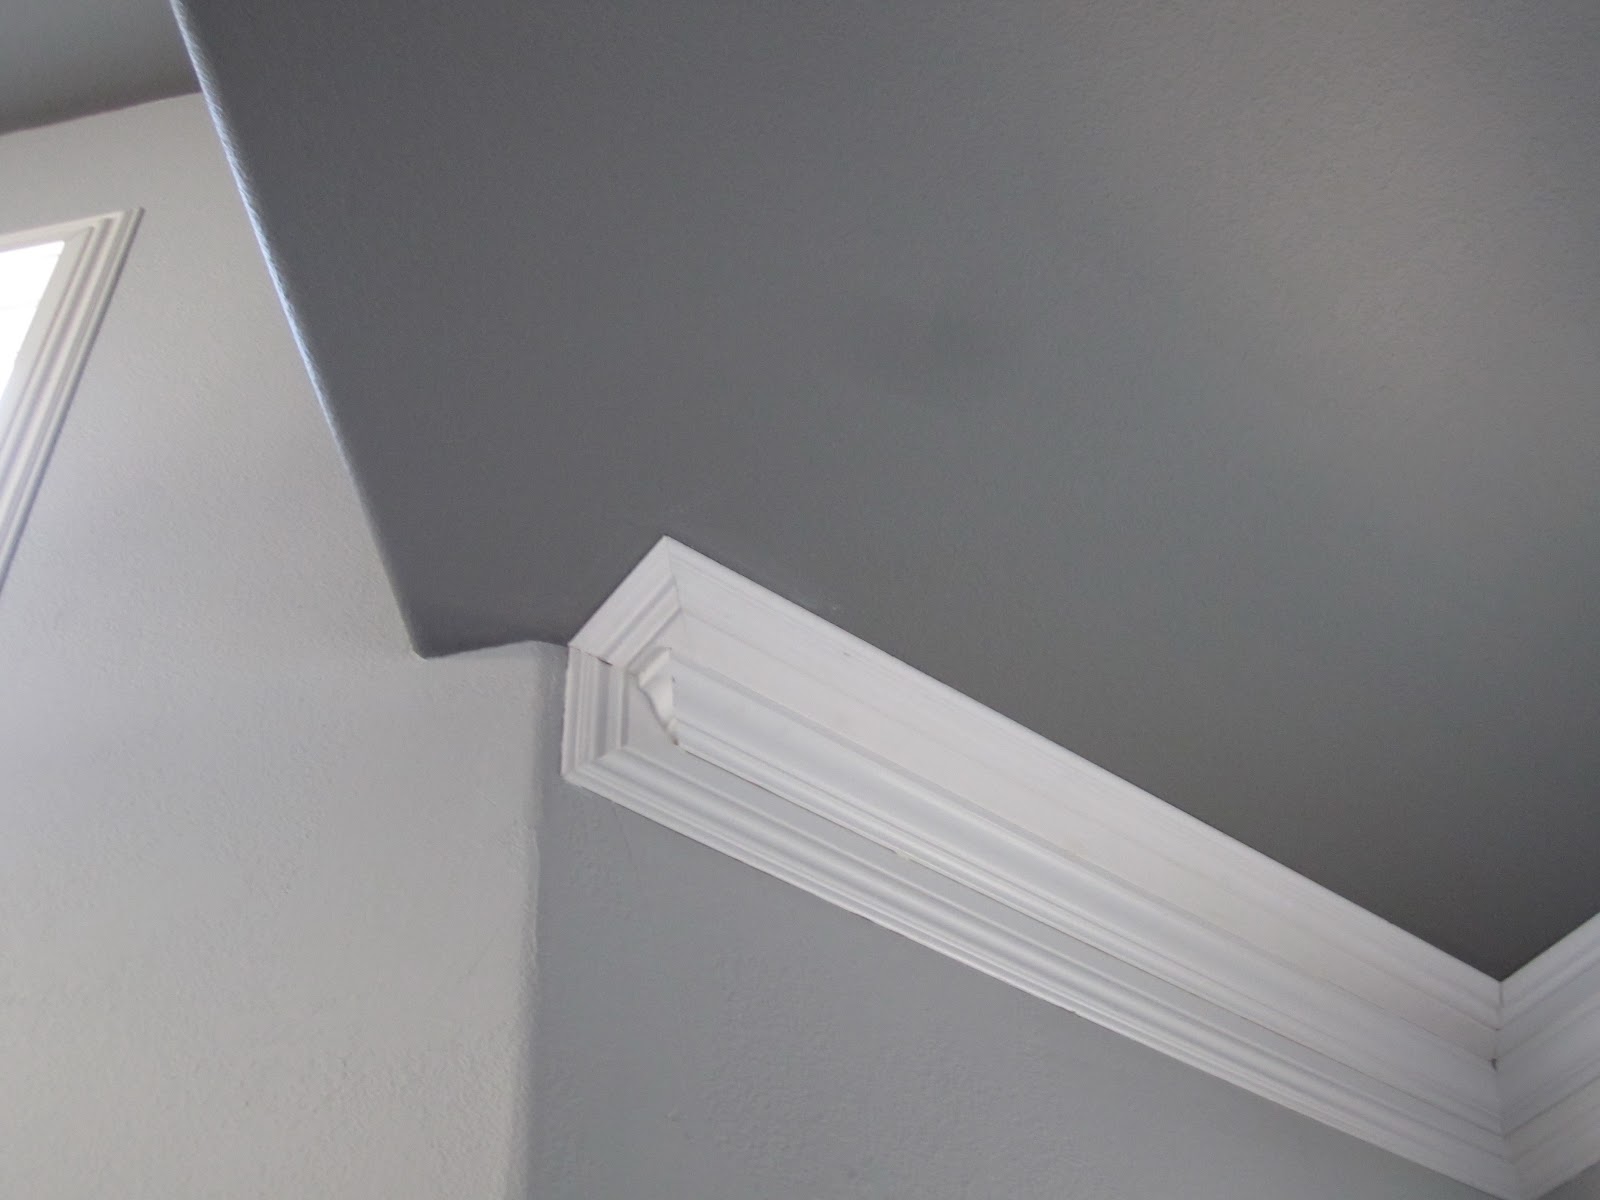
The room is coming along slowly. 
I'm always amazed by the bloggers that can do a complete room make over in a weekend. 
I just don't work that fast!
Thanks for checking it out.


To see other lighting projects I've done click on the links below.


 Photobucket

DIY Show Off

Thursday, April 19, 2012

The Downside Of Coaching

Today is going to be a hard day.

I have to crush some young girls hearts.

I don't take it lightly, in fact it is agonizing for me.

The WORST part about coaching is having to cut a player.

I have 65 7th and 8th grade girls trying out for the middle school volleyball team I coach.

I can only keep 15. 
I wish I could keep them ALL.

I don't post a cut list.  It would be so much easier to post a list and not see the disappointment in their faces.  It's just my feeling that a list is so impersonal.  I talk to every kid, some face to face and some on the phone.  I try to encourage them to keep practicing and to not give up.

Those of you with children that play sports, just know coaches don't take these decisions lightly.  We lose sleep over it.  We worry about those kids that we have to let go.  We feel their pain.

I just have to try and not cry while cutting them.

I hate today.  

Monday, April 16, 2012

Happy Anniversary

17 years yesterday.
You are still the best thing that ever happened to me.


I love you more today then the day I married you.


Thank you for being the best husband and father of our two girls.


Looking forward to the next 17.


Love,
 S.


Thursday, April 12, 2012

Making The Cut

Happy Belated Easter!  I hope you and your family had a wonderful day together.  I on the other hand, missed Easter and spent a good part of the day in bed sick.  I have a nagging cough that I can't seem to shake which is unusual for me since I haven't been sick in over a year.  I tried playing volleyball Monday morning hoping a good sweat would make me feel better.  I'm much better today.
The first cut was the huge molding project in my husband's new room.
We made great progress on Saturday.  When I say "we" I mean my brother Mike.  I can do simple molding projects like window casings and fireplace mantels, but this room has some difficult angles.  Mike is really talented with wood working.  He wears a suit everyday and is an investment banker by trade, but could easily have been a cabinet maker.  I basically followed him around, handed him the nail gun, and tried to stay out of his way while he made all the cuts.  My husband spent the afternoon jack hammering out the fire pit.  More on that project later. 
This is where the new room is at right now.  Mike put baseboards on the wall and then put another piece of baseboard on the ceiling.  He has been coming after work this week and is in the process of putting up crown molding between the joint where the ceiling and wall meet.

Here is step one of building the crown molding, baseboard on wall and baseboard on ceiling.


The corners may look like 45 degrees, but they're not.  Nothing in this house is plumb.


Once the crown molding is added you won't see the seam or the gaps in between the two baseboards.

Here is the next step, the added piece of crown molding.  I have started filling the nail holes and joints with spackle.  I still need to sand and paint.


Here is the room before.


After painting the walls and ceiling.


After progress.
I also painted the inside of the front door black (the outside is already black).  I added window casings  and here is the partially completed crown molding.


Once painted the molding will look like one large piece of molding.
This corner is ready for sanding.


The second cut was the CSI Pillow Challenge
I made these for my slip covered couch awhile back and you can see them here.


My pillows made the cut!


If you get a chance, go see all the cute and creative pillows over at CSI.

Have a great weekend! 
Casey has a soccer tournament in Bakersfield, I have a volleyball tournament is Anaheim, and Cami has a volleyball tournament here in San Diego.  I think the molding work will have to wait till next week.

  Thanks for checking it out.


Friday, April 6, 2012

Staghorn Love

Happy Good Friday! 
I have crown molding on the brain and will start (with the help of my dad and brother) the daunting crown molding project tomorrow in Henry's new room.
In the mean time I wanted to tell you (again) about my love for anything that grows vertical on a wall.  
Back in November of 2010 I blogged about my obsession of vertical gardens.
My love affair continues with Staghorn Ferns.
I have been admiring them for awhile now.
I love them in large groupings like the ones on this patio.

Steven-Gambrel-Parrish-Art-Museum-1
They look good all by themselves too.

Picture of Staghorn Fern (Platycerium superbum)

How about indoors on some interesting driftwood?

Platycerium bifurcatum

They can be mounted on pallets. 
Here is a tutorial.
You just need fishing line and some moss.

02-24-staghornkimber1_rect540

Here's my new Staghorn. 
He's going in the new Man Cave (I think?).
It's like having a living rack of antlers on the wall, except Bambi's mother wasn't harmed in the hanging.
To see other vertical gardens I've made and blogged about go here.

Thanks for checking it out.
Happy Easter!


Thursday, April 5, 2012

Henry's Room Update

Here's where the man cave is at right now. 
If you missed the evolution of this room go here.


I moved as much of the furniture out as possible.


I borrowed my parents extension ladder for the high alcove above the front door.  It's a little precarious painting the space.  It's hard to paint and make sure I don't fall off the ladder. 
Been there, done that, don't need to do it ever again. 
I try to only go up on this ladder when someone is home to call 911 if I happen to fall off. 
No seriously, I'm not kidding. 


Before new paint.
Yes, I know the light is yucky.  It's the one that came with the house and the last to get changed out.


After


I finished most of the window casings yesterday.
Next step crown molding.
I'm calling in reinforcements for that step. 
This room has some difficult angles that I need my Dad and brother to help me with.

On the immediate to do list:

*Finish molding and paint.
*Get a quote from an electrician to add a junction box to the center of the ceiling.
*Replace the white blinds with woven wood shades.
*Narrow down furniture selections and take Henry to try them out for his final choices.

My house is a total disaster and we are having Easter here on Sunday. 
 It's just my family so hopefully they will understand.

Thanks for checking it out.


Monday, April 2, 2012

New Space For My Man

My husband never asks for anything for himself.  He does everything for his girls, me and our two daughters.  We also have a girl dog and a girl bunny.  He is surrounded by estrogen and has no place to call his own in our home.  Day after day he diligently goes off to work to support and provide for his girls.  He never buys anything frivolous.  The only money he ever spends on himself are the times when he needs new running shoes.  He is selfless and happily does everything for his family.  He never complains.  When we do have some extra money he tells me to get something nice for the girls and me.  We have a cozy, "smallish," three bedroom home and there is no corner carved out just for him. 
Even the garage is filled with all my "crapola."

I wanted to change that, so I'm making him a
"Man Cave." 

Not this kind of cave.
Photo: Man in front of cavernous tunnel

Hopefully it will be more like this kind of Man Cave.


source
He really doesn't want to watch Vampire Diaries, Survivor, Switched At Birth, Nate Berkus, Selling New York, and all the other shows his girls watch.  He needs his own TV to watch sports, documentaries, and the History Channel.  He has never asked for a no girls allowed space, but he listened intently when I told him my plan.  It took him a few days, but now he is totally on board.
 It's fun seeing him get excited about having a space of his own.
The dilemma, where do you find space for a more testosterone friendly room when you only have three bedrooms and they are all occupied?
You get creative and you make due with what you have.
No time to lament about what we don't have.
Here is the room I'm converting into a place my husband can call his own.
It's a challenge because this is our living room/office and it incorporates the front door and the hall to the girl's bedrooms.  There aren't any walls to separate it from the rest of the house.  It's also an awkward shape.  It's the first room guests see when they walk in the house. I need to come up with a plan that will make my husband feel welcome, but still not look we live in a themed sports bar.


I painted this space blue/green after seeing the cover of the 2007 Jan./Feb. issue of Veranda. 
I did layers of joint compound and paint glaze to achieve the effect. 
Time for change, it's been like this since the cover came out.


It's had a few different looks in the past, but the wall color hasn't changed.


We use it for Thanksgiving dinners because we don't have a formal dining room.  
Thanksgiving 2010


I ripped out the carpet a few years back and painted the concrete floors
I've done several floors like this in my house.   
Those are staying, but I'm re-painting the border. 
The scroll detail is too feminine for a Man Cave.


I put up our Thanksgiving Tree right after Halloween in here.
Thanksgiving Tree 2011


Here's the room getting ready for a new coat of paint.


Here is the direction I'm going.
A new sleek flat screen TV and industrial furniture.


Dutch Industrial Media

I think I'll have to design some more industrial shelves for this room like I did in our great room.


Gray walls with warm wood.


Maybe a map or two of his home state New York.
new york city vintage map NYC 1842 atlas map east coast print - Free Shipping

Darker gray ceiling with beefy crown molding.

Maybe something like this?.


Cozy stremlined furniture with an industrial masculine feel.

Industrial Countryside Chic

The walls and ceiling have been painted, but I'm not going to finish this room in lightening speed. 
My oldest daughter had surgery this last week and
I was gone all weekend at a volleyball tournament.

I painted the walls Benjamin Moore Stonington Gray HC 170  and the ceiling 
Benjamin Moore Chelsea Gray HC 168.
I'm adding crown molding so you won't see the unpainted seam where the walls and ceiling meet.

I'll show you the progress in the next post.

Do you have any room renovations in the works?
Does your man have his own Man Cave?
Do you have any style tips that I can use to make this masculine room blend with the rest of our home?
I would love to hear your ideas.

Thanks for checking it out.


Related Posts Plugin for WordPress, Blogger...