Showing posts with label mirrors. Show all posts

Friday, December 16, 2011

Tis The Season For Painting Mirrors

I started painting my mirrors and windows last year and I'm doing it again for this Christmas. 
 It's an EASY, quick, and affordable way to bring in the Holiday cheer.


No artistic talent necessary, you just need some stencils, bought or homemade. 
This is the mirror outside in our front yard courtyard. 

 
This is what the mirror looks like the rest of the year.


It's an old mirror that I hot glued floral foam and moss to.  Then I wrapped chicken wire on top of it and stapled it to the wooden frame.  I grow Tillandsias on it because they don't require much water.


I made some homemade stencils out of computer paper for my template.  This is a one use stencil project.  Use stencil Mylar for repeated use.  I found the pictures on the Internet and I traced the picture of the deer right off my monitor because my printer is out of ink.


I used white and a little gray acrylic craft paint to block in the stencils.  I stuck in some pine cones around the moss frame and added some sticks to the front sides of the mirror to make it 3D. 


 I drug home the sticks from one of my walks.  The gardeners missed picking these up after trimming the trees. 
I still have leftovers for another project.


I freehand painted the mountains in the background, but it looked good without them too.  I shaded the bottom of the deer's belly and legs with a little gray paint to help define his body in the white snow.  Save the inside of the deer cutout and overlay it on top of the painted deer image to add the shading once the deer is dry. 


Here are some more stencil and paint mirror projects I did inside the house. 
The paint is easy to clean off the mirror after the Holidays.

Our family initial and snowflakes.


Last year I used these cardboard letters and faux snow to decorate the outside windows.


I used the same stencils this year for some indoor mirrors, but substituted the snow for acrylic paint.


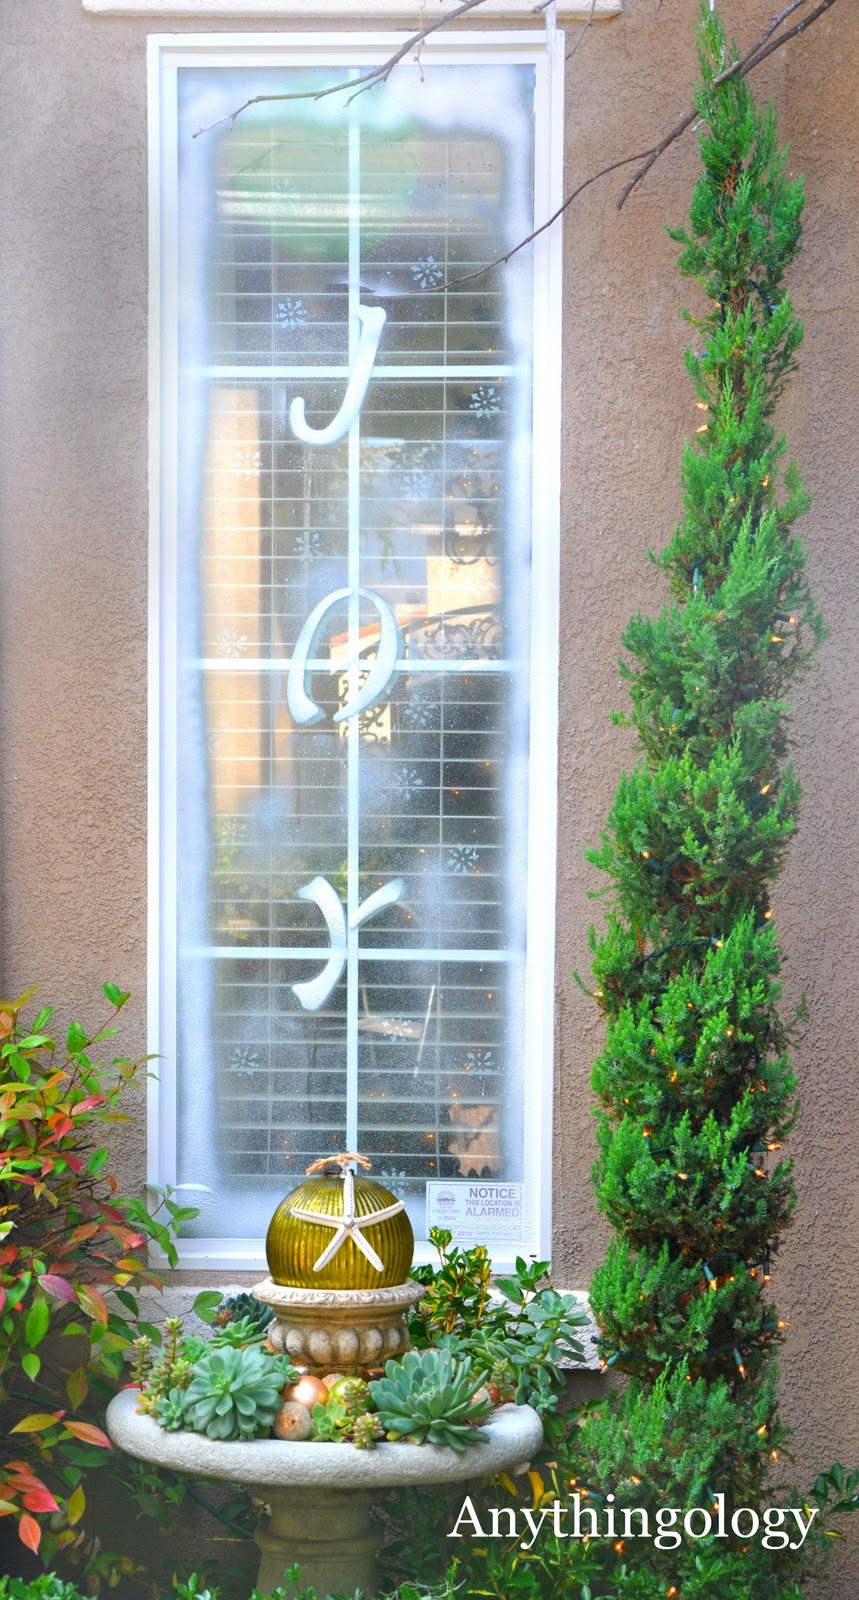
It's snowing JOY

 
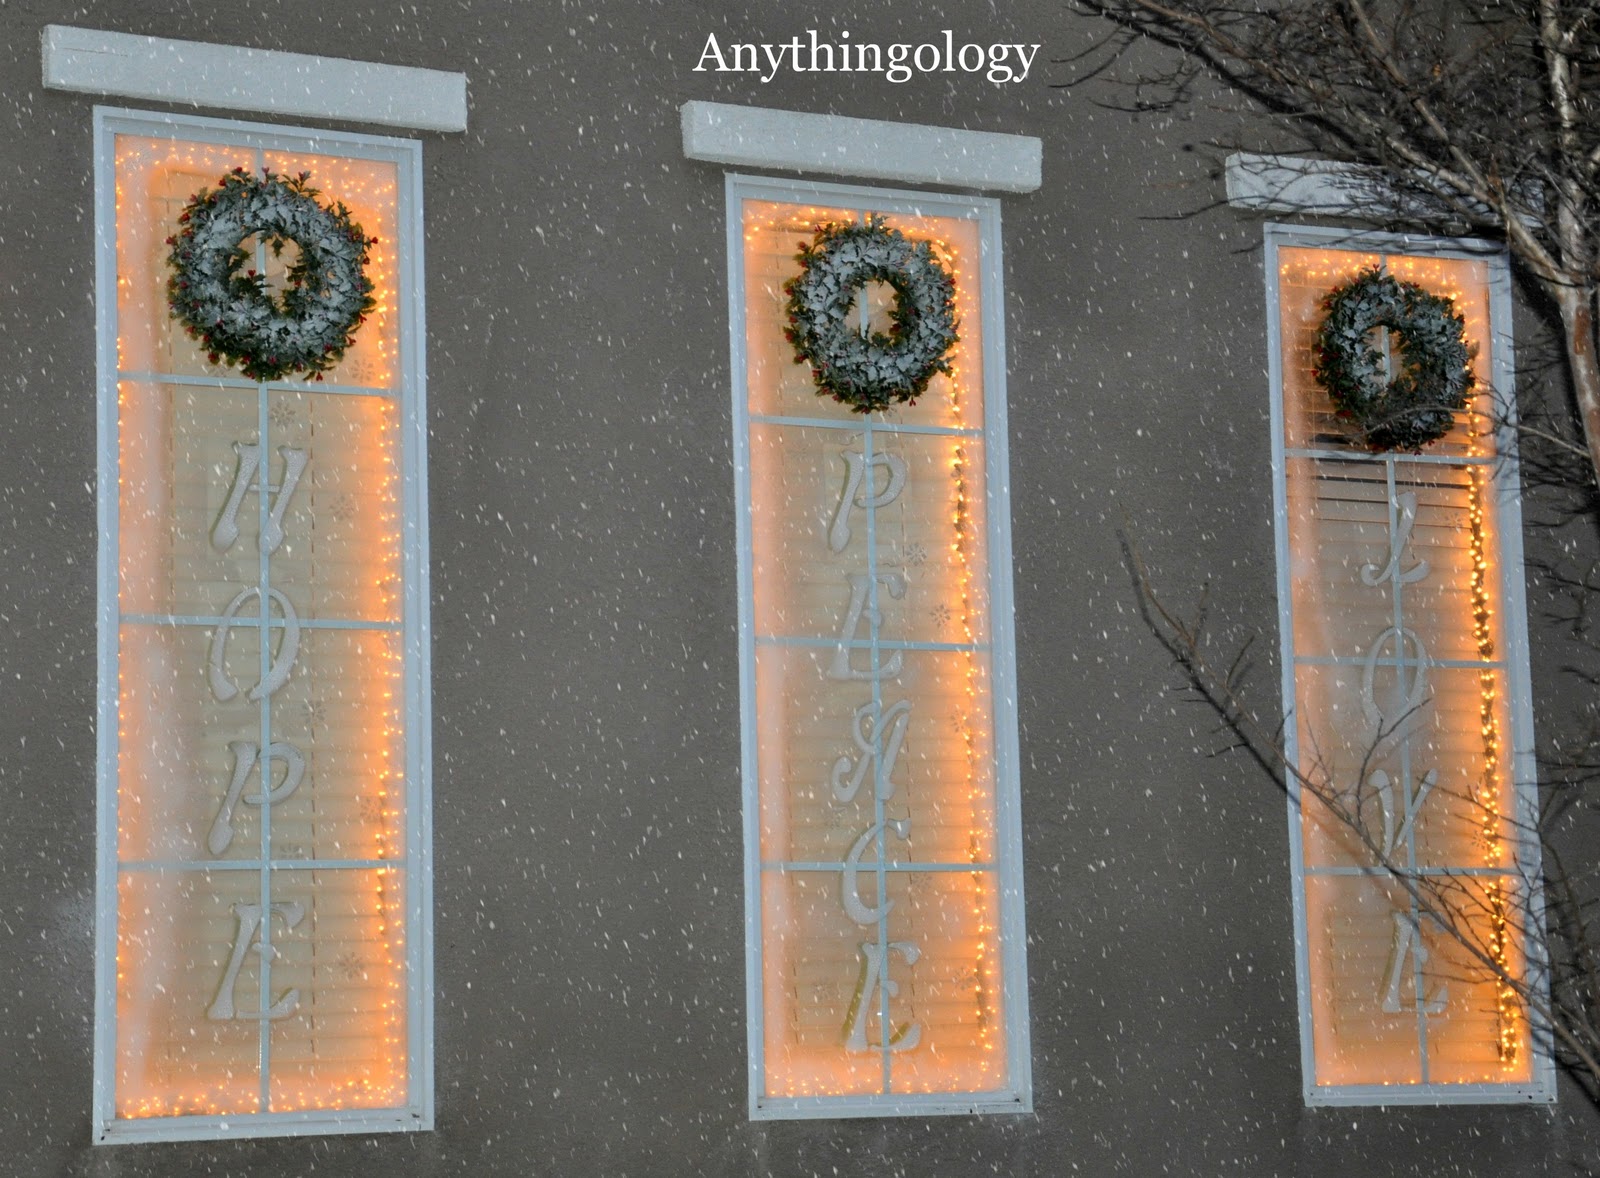
 Here are the outside windows for this year using the cardboard stencils and faux spray snow. 
These are EASY!


Wishing you and your family Hope, Peace, and Love this Christmas.

Thanks for checking it out.


Thursday, August 18, 2011

How Do You Decorate a Wall Niche?

Do you have a recessed wall niche in your home?  How did you decorate it? 
This was the dilemma we had when we purchased our tract home ten years ago.   
Here is how I decorated our two niches.

The first one is over my fireplace. I painted this urn with hydrangeas many years ago. I have plans to redo it because I love change and I'm getting tired of it.


It took me about three weeks to paint this because at the time my girls were one and a half and four years old.  I had very limited painting time back then.

Here is the other niche we have in the rotunda between our great room and our master bedroom. 
It's been decorated this way for a few years.


I painted the rotunda black and left the border wall of the niche and the ceiling white.  I added upholstery tacks to the edge of the niche and around the recessed area on the ceiling.  It cost me about $25 for a box of 1000 tacks.  I use them everywhere like my powder room and still have leftovers from the original box.

To see more upholstery tack ideas go here

For this niche I added a mirror and hung a sconce on it.  I love how the candle light reflects in the mirror.  I found the mirror at Marshall's and re painted it a silver gold.


After hanging the mirror,  I used a glass and tile bit to drill a hole through the center of the mirror (WEAR EYE PROTECTION and GLOVES).  I carefully placed a nail through the drilled hole and hammered it into the wall behind the mirror.  You might need to add a molly to secure the nail into the wall if it's not hammered into the wall stud.   There is a chance you can shatter the mirror when you drill it or hammer the nail through the mirror.  Be careful and wear gloves and eye protection.  I used to make table top fountains and frequently drilled glass and ceramic containers.  Sometimes the hot drill bit will shatter your project.  This was a inexpensive mirror from Marshall's, so I was willing to take the chance of it breaking. 


 I used some earthquake tack stuff (not sure of the real name) to secure and cushion the back of the sconce on the mirror. It looks like chewing gum and I think I bought it Home Depot?  This keeps the sconce from scratching the mirror and from sliding around.


The sconce was brown and I painted it the same silver gold color as the mirror. 
I think I bought at Marshall's for under $10?
I added some of my magnetic crystal drops to the sconce for a little more bling.  To see how to make them go here.


The candle gives off beautiful light at night.

The upholstery tacks catch the shimmer and look like mini pin points of light.


Here are some other pictures of interesting ways to decorate niches. 
There are so many creative ideas out there!

Paint a meaningful quote.


Personalize with family photographs.


Paint an interesting pattern.
I love this!


Frame out the niche and paint the recessed area a different color.
I'll take one of everything.


Add shutters.


Add shelves.


Add drama with lighting.


Add art.


Tile it.


Do you have a niche? 
I'd love to see how you decorated it!

Thanks for checking it out.


Wednesday, August 10, 2011

Mirror Transformation

If your anything like me, you have a callous on your index finger from some trigger happy spray painting.  Here is a quick mirror transformation that I did this week with my old friend spray paint. 


Here is the before. 
Not bad, but I'm over the brown.
I am slowly getting rid of the any traces of the Tuscan look in my house and these mirrors are part of the change going on.   I love re purposing stuff I already have. Why buy new when you can just give an existing piece new life with a little spray paint.


I purchased these metal mirrors hanging behind my living room couch several years ago at Marshall's on clearance.  They were a distressed brown and gold finish.  I'm going to slip cover the couch, but haven't gotten to it yet. 
To see more of how I changed our living room into our home office go here.

After carefully removing the mirror I spray painted the metal frame white.  Then I taped off the outer border of the frame and painted the inside grill work bright gold.  Be careful removing the mirrors.  Newer mirrors are often hot glued in place and difficult to take apart.  This was the case with these mirrors, but I was able to gently remove the glue and ease the mirror out of the frame.  Wear gloves and eye protection in case it breaks.  Been there, done that, it's a bummer when they break.

Then I used a gray glaze over the whole piece.  Here is the glaze I mixed up.  A little white paint, black paint, water, and glazing medium.


Piper is very curious about everything and she tried to help.  She curled up in my lap while I was sanding.  I think Roscoe sent her a message that I need puppy help with my DIY projects.


 After the glaze dried I distressed the whole piece with some sandpaper.


Here is the mirror detail before sanding.


Here it is after sanding.


I washed the mirrors with warm soapy water before putting them back in the frames.
Soap and water is the best mirror cleaner I've found, no streaking.
Here they are back in the living room.


I'm liking the gold detail on the mirror with my HFH re purposed hanging light fixture.
You can see more of that project here.


I like them...for now. 


Bye bye Tuscan, hello Swedish Gustavian?

How has your design taste changed? 
Are you transitioning too?
I would love to here all about it.
Thanks for checking it out.


Related Posts Plugin for WordPress, Blogger...