Showing posts with label molding. Show all posts

Thursday, April 5, 2012

Henry's Room Update

Here's where the man cave is at right now. 
If you missed the evolution of this room go here.


I moved as much of the furniture out as possible.


I borrowed my parents extension ladder for the high alcove above the front door.  It's a little precarious painting the space.  It's hard to paint and make sure I don't fall off the ladder. 
Been there, done that, don't need to do it ever again. 
I try to only go up on this ladder when someone is home to call 911 if I happen to fall off. 
No seriously, I'm not kidding. 


Before new paint.
Yes, I know the light is yucky.  It's the one that came with the house and the last to get changed out.


After


I finished most of the window casings yesterday.
Next step crown molding.
I'm calling in reinforcements for that step. 
This room has some difficult angles that I need my Dad and brother to help me with.

On the immediate to do list:

*Finish molding and paint.
*Get a quote from an electrician to add a junction box to the center of the ceiling.
*Replace the white blinds with woven wood shades.
*Narrow down furniture selections and take Henry to try them out for his final choices.

My house is a total disaster and we are having Easter here on Sunday. 
 It's just my family so hopefully they will understand.

Thanks for checking it out.


Sunday, April 3, 2011

Fireplace Makeover #2 It's Finally Finished

FINALLY finished the fireplace.  This is the second part of the fireplace makeover.  To see the tile removal and drywall repair click here.  This was part of a larger project, my family room makeover.

Here is the Before.
No mantle and the builder put the floor tile around the fireplace.  See how the larger tile at the top makes the fireplace look like it's falling forward?  I've never liked my fireplace.  I painted the picture above it when we first moved in ten years ago to draw the eye away from the black hole below.


Here is the After.
 I removed the old tile, repaired the drywall, painted the walls and the concrete floor, made a new mantle, and added a new tile surround.


My dad was the Foreman on the mantle making part of the project.  I'm lucky to have my parents live about ten minutes from my house.  My dad has all the cool tools, saws, and expertise for woodworking like this. 

We started with the table saw.  We used this to make the MDF boxes for the mantle and legs.


We used this 12" compound miter saw to cut the molding.  I made the cuts, but there is no way I could have figured this out without my dad showing me what to do.  I just haven't done it enough yet, but I'm learning.


I glued all the joints with wood glue.


I used a staple gun to make the boxes and attach the molding.  More cool dad tools.


My mom brought us lunch.  Cutting wood makes me hungry. Yum! 
Thanks Mom.

We made these guide boxes to cut the big molding.  It makes cutting the angles much easier.  Make them the width of your largest piece of molding.


Here is the box with the the first piece of molding attached.


We attached the horizontal mantle to a 2x4 attached to the wall.  I diagrammed where the studs were when I was repairing the drywall.  This made it easier to secure the 2x4 soundly to the wall.


The 2x4 was a hair too long and I had to hammer the left side of the mantle down on to get it level.  The fit was a little too snug, but I fixed it.  Here it is before leveling.


Next we added the legs.  I used liquid nails to secure the legs to the wall.


Here is a detailed picture of the molding I used to create the mantle.  It's hard to see where the molding begins and ends once it's painted out.  It looks like all one piece.  This was a work in progress.  I didn't add the last the bottom piece of chair rail until after the mantle and legs were attached to the wall. 
All these moldings were under $2 a foot so everything was very economical.  They were all purchased at Home Depot. 


Once the mantle was attached I filled all the staple gun holes with wood filler and sanded it smooth.  I had to repeat this step several times to get the flawless finish I wanted. 
I wish this technique worked on my wrinkles.


I added some skinny picture rail molding to the legs.  I just glued it on with Liquid Nails.  Then I primed it with Zinnser water base primer.


I painted it with two coats of Frazee, White Shadow.  All the trim, doors, molding, and base boards in my house are painted this color.

Close up of the molding detail.


On to tile.  I borrowed a wet tile saw from my cousin Margaret's husband Andy.  He's an amazing contractor.  To see some of his work click here


I was a little intimidated to use one of these.  BUT IT IS SO EASY!  Really,  it's easier than operating a sewing machine.  My daughter Casey took to it right away and wanted to help.  Wear ear protection, it's very loud. 


I set it up in the SCARY, MESSY garage.  We don't have basements in San Diego.  Basements don't hold up to well in earthquakes.  We have earthquakes. 


Here's the first cut.


It took me a Sunday afternoon to complete the tiling.  Just apply Thin Set to the wall with a notched trowel and set the cut tile.  


I haven't been in a tile store in a while.  It's pretty incredible the choices and options out there.  I chose a natural stone mosaic rhomboid tile because it's timeless, classic, neutral, in-stock, and under $10 a square foot.  The lady that helped me at Encinita's Tile gave me the contractors discount for being nice.  Well I am the contractor at this job site.  I guess some of the people that she works with are not nice?  I don't know, but it made my day!

Here's where I started.


Here it is ready to grout. 


I used sanded grout and the color I used was Haystack.  Mix it with water and follow the box directions.

Use a rubber trowel to grout and mush it between the tiles.


Wear gloves, it's messy, but fun.


Sponge off all the excess grout.  Rinse and squeeze out your sponge often.  Change your bucket water often.  Make sure your sponge isn't to wet.  You don't want to clean your new grout out from between the tiles.


After two hours wipe your tile down again to remove any grout residue
I added a small quarter round piece of molding to the inside edge of the mantle.  The tile grout wasn't as clean as I wanted it to look on the edges.  I painted the molding to coordinate with the tile with the same paint I used to create the concrete floor stripes.


I still need to seal the grout.  I also need to figure out how to decorate a mantel?  I haven't had a mantle in my house since I lived with my parents back in 1989. 


I'll wait to build a fire until after I seal the tile or the smoke might stain the grout.


I'll put candles in it for the summer.


Thanks for checking it out.


Thursday, February 17, 2011

Family Room Makeover

Our family room/great room hasn't been painted in ten years. I'm tired of the yellow and the stencils. The ceiling is painted the same color as the walls so painting this room was a little inconvenient. The fireplace tile is gone but I haven't finished the mantel or the new tile yet. To see the fireplace demo. click here. I slip covered my couch. To see that part of the re-do click here and here. I reupholstered my ottomans here. I also ripped out the carpet and painted the concrete floors. I'll show you the floors and how to paint those in a later post.


Here are some before pictures during the room prep for paint.

The stencils are going bye bye.


See the paint samples to the right of the fireplace? I always paint several large swatches around different parts of the room before I go out and buy paint. I live with the color for at least a few days (in this case a few months) to see how the swatches look in the morning, afternoon, evening, cloudy day, and sunny day. It's well worth the cost of several quarts of paint.


I recently painted the TV armour too. To see that click here.


These windows are south facing and we get bombarded with major sun year round from sunup to sunset. I faded the arm of my slip covered couch while working on this project while the blinds were off the windows. This has created a big design challenge. How to get rid of the blinds while protecting my furniture and the view? If I lose the blinds and just use curtains, I would need to leave them closed all day long. We would lose the view of the backyard. I would love bamboo shades and they are on sale at Lowe's right know as I type, but I would need to mount them outside the windows which I don't really like, or special order the shades which is very expensive. These windows are 70.5" wide and standard shades are 71" or 72" wide. I would also need to keep them down all day to protect the furniture. So for know I have to live with the blinds. The blinds are great for light and heat control. I can tilt them so we still see the outside, but the light doesn't shine on the furniture. I haven't checked into getting UV protection put on the windows, maybe that's an option?


Any ideas out there? I would love to hear them!


I picked out the new color six months ago. I just didn't have time to paint this room. In the back of my mind I knew it was going to blow up to be much bigger project than just painting the walls.


Bye Bye yellow.


Before I painted I re-textured the walls with joint compound and primed the re-textured areas with Zinnser primer. Click here to see how to do that part of the project.


I painted the room with my favorite paint Benjamin Moore. The color is 75% of OC 10 White Sand in a flat sheen. The eggshell finish looked weird on the ceiling so I just painted the whole thing in flat. The old paint was flat and it held up very well even in the kitchen. I don't tape off the room when I paint. I just use an angled brush to do all the cut in work. The color looks like a very cool gray in the morning and afternoon and more beigey and warmer in the evening. I like it because it's very calming and fresh.


I raised the curtain rods up about six inches to the bottom of the molding and moved the brackets out wider past the windows to make the windows look even bigger. I got rid of the finials in between the windows and extended the rod all the way across the narrow wall separating the two windows. Now the windows looks like one giant window. They are difficult to photograph because they are always back lit by the sun.
The blinds are back up again. I wasn't sure the drapes were going to work with the new paint color, but I love them even more now. I made them out of paint tarps several years ago. They have great weight, a nice texture, and drape nicely. You can't get much cheaper fabric than paint tarps.


I also painted the brown curtain rods with a gray wash. I bought the finials years ago on sale for $5 a pair at a fabric store. They are made by the Antique Drapery Rod Company and usually are around $35-$45 a piece. Most of the curtain rods in this room are made out of closet dowel painted to match the finials. Closet dowel can be found in the molding section of any hardware store. It's so cheap compared to an actual wood drapery rod. Just paint it and drill holes in the ends for the finials.


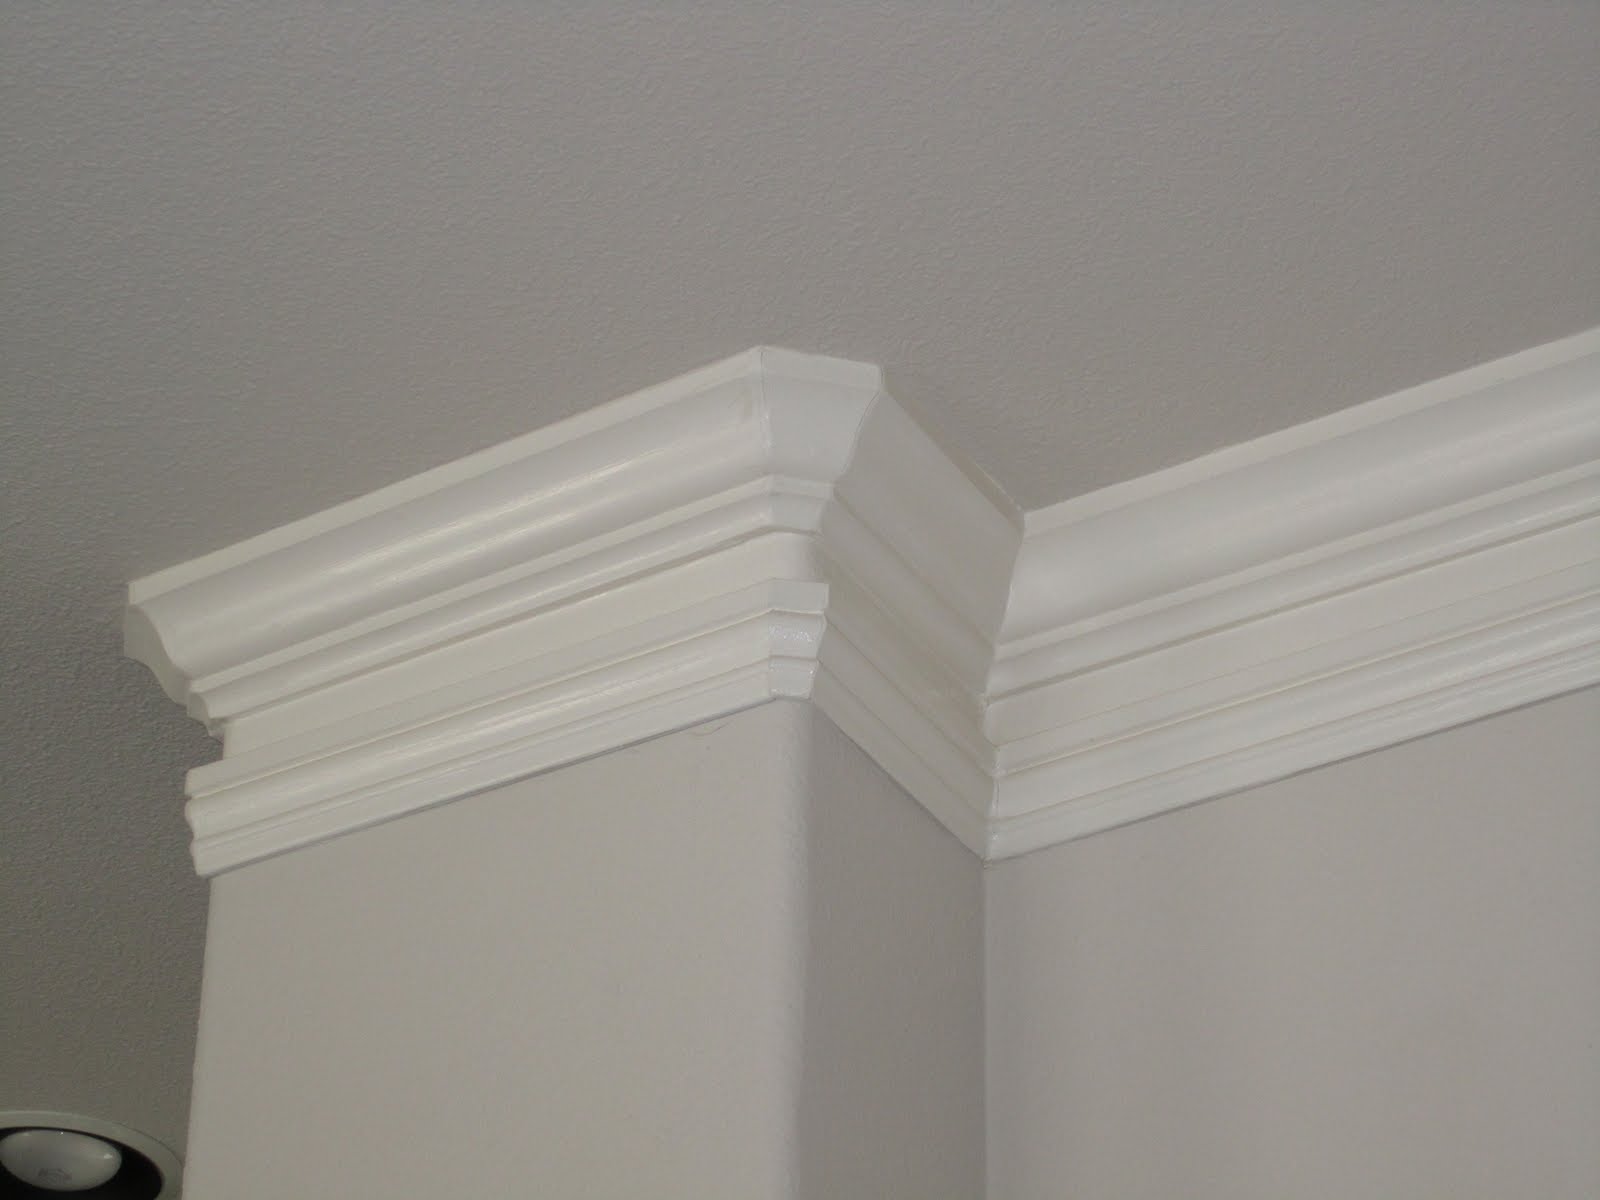
My dad helped us do the molding when we moved in. It's actually two separate pieces of molding. We painted the wall board in between the two pieces to make the molding look bigger. We have ten foot ceilings and skinny molding looked out of scale in the room. Wider molding is more difficult to miter the corners and more pricey. This was an economical solution. Painting the ceiling accentuates the molding.


Here is the new paint in the kitchen with my black cabinets. I painted the kitchen cabinets a few years ago and they have held up AWESOME! Someday I'll get around to doing a blog on how to paint kitchen cabinets. I used an oil based paint designed for metal not wood. It wears like iron.
NO SANDING, NO PRIMER, KID AND HUSBAND PROOF!!! It's amazing!


Here is a sneak peak of the new concrete floor. The base coat is the same color as the walls. I love the color, but I'm not sure if I like the maintenance? It shows every speck of grass our dog brings in the house and I can't have anything in my house that high maintenance. I don't have time to sweep everyday and right know that's what this floor requires for up keep. I might have to adjust the color a little darker? Still thinking about what to do.


The ceiling is the same color as the walls, but see how it looks more gray than the wall color? I almost always paint ceilings. The ceiling is the fifth wall. In smaller rooms I paint the ceiling a couple shades lighter than the walls or I paint them a pale blue. Remember that paint will almost always look darker on a ceiling than on the walls. I know it's a personal preference, but sometimes when I walk into a large room with a white ceiling, I feel like it's being covered with a big white sheet. Painting the ceiling really shows off the molding too.

I also took the shades off the chandelier and lightened up the paint color. It's not done yet so I'll show you later how it turns out. The large wood scroll over the mirror is new to this room too. To see how I painted it click here.


I just noticed while watching the Nate Berkus show that the color of the walls on his set looks almost the same as my wall color. It looks more blue in this picture than it is on TV. If you watch the show check out his walls.


I'm so happy with the color. Walking into this room now makes me relax, just what I was trying to achieve. Who knows, I might be sick of it in six months and want to paint it all over again, but for now I'm loving it.


I still have a lot of work to do. The fireplace needs to be finished. I need an area rug, some lamps, I want to refinish my buffet, complete the chandelier, the list is bigger than the bank account. The major messy work is done for now. I'm addicted to change so I never know what I'm going to do next.

Thanks for checking it out!


Related Posts Plugin for WordPress, Blogger...